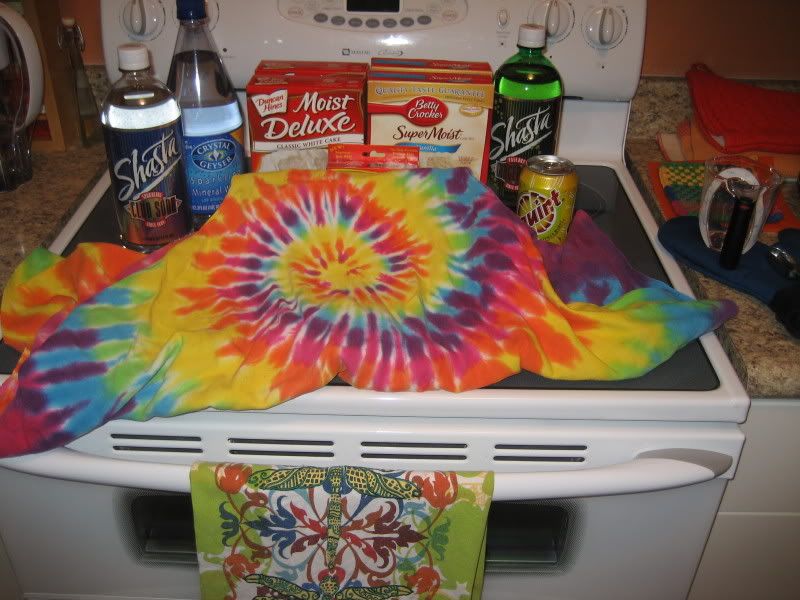
My apron explains a bit of why I'm so excited about a psychedelic, neon colored cake. The rest of the post goes into the painful detail.
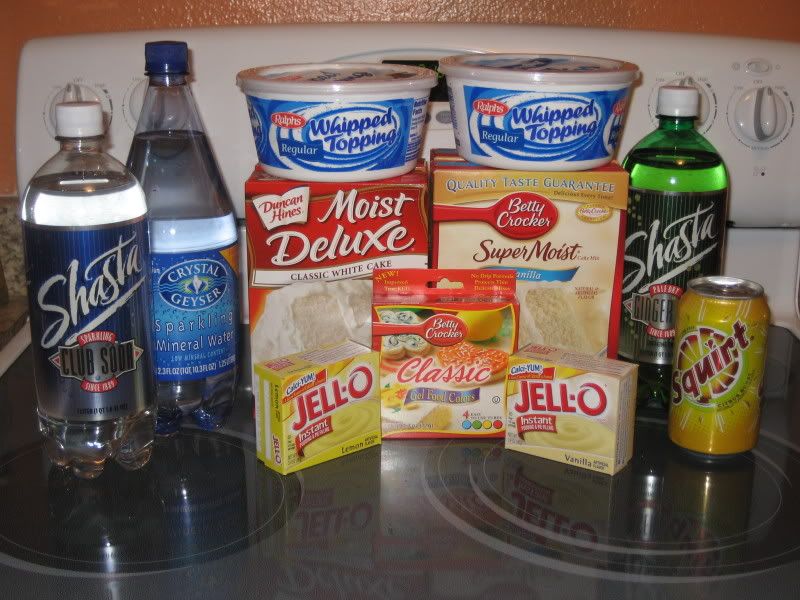
- Rainbow Cake Ingredients
- 2 boxes white cake mix
- just under 24 oz. clear/light soda (reg or diet) like Squirt, ginger ale, plain soda water.
I started DH brand and divided one box of mix into 4ths (due to wanting to try 4 liquids) but tried to make 6 colors out of it. That was dumb. After being displeased by my skimpy shared orange and yellow, I cracked open the second box and took out a quarter of the mix for the last color. For BC, I used both boxes from the start. That was less stressful all around but was too much cake for my 8" rounds and muffintopped a little. But the batter looked great and the cake looked just fine too.
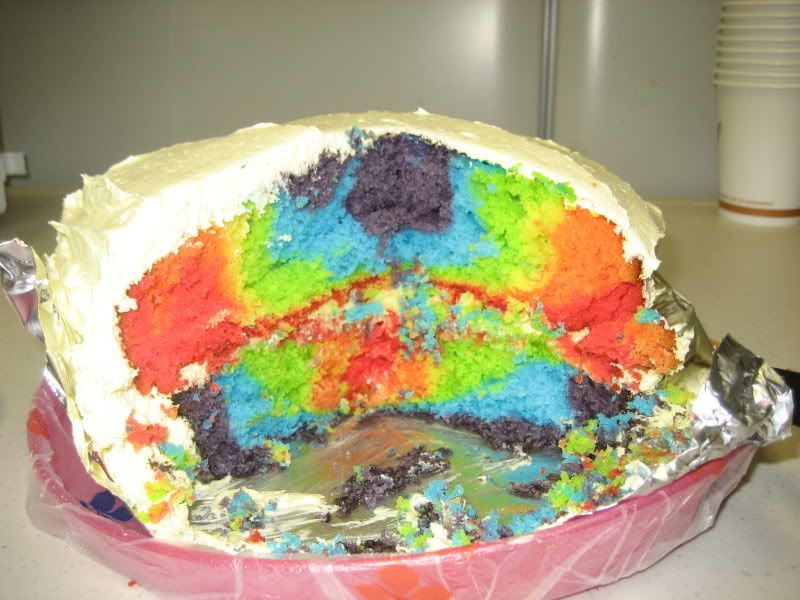
After finishing, though, I'd seriously consider adding
- 2 eggs
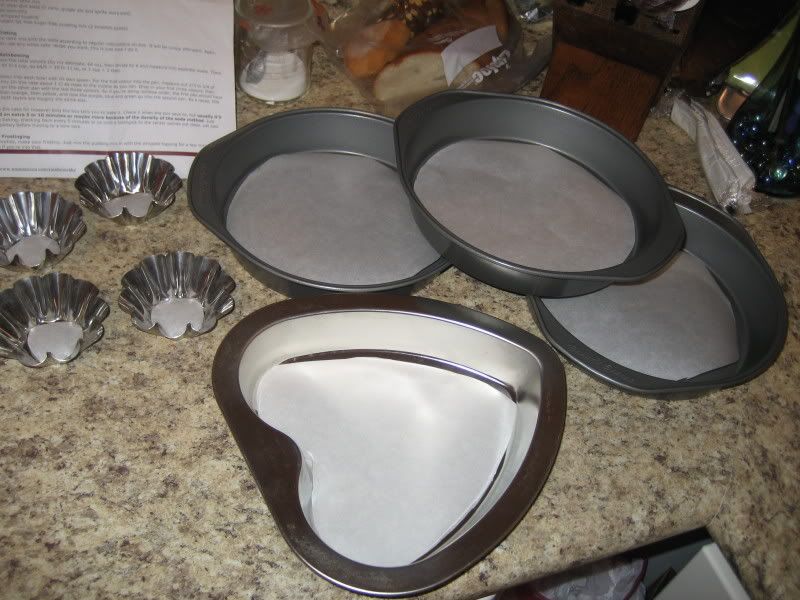
While your hands are clean, line 2 cake pans with parchment, then spray with "Pam for Baking". (This cake is all about better living through chemistry, so put that butter away.)
Mixing
I sifted the cake mix into a big bowl I had tared (zeroed with bowl on) on a scale reading in grams for good resolution, divided by the number of grams by 6, and scooped that many grams into a separate bowl. I poured out my liquid (3oz per quarter, 4oz per third of box) into a measuring cup. I started dumping all the liquid in at once then whisking, but the bubbles burst up the edge of the bowl and had to be scraped down. The best method was to start whisking the dry ingredients to get the motion going and a pit in the center, then slowly pouring the soda in and whisking until incorporated.
To just mix it all at once (to make all together or half at a time) sift box mix into a biggish bowl. Make a bit of a hollow in the middle. Start pouring soda into the mix while whisking, increasingly incorporating cake mix. (If using eggs, add the egg to the measured soda and pour in with the soda. Total liquid should be 24 oz (12/box), including the egg. I think. At least 16oz.) Reserve remaining soda.
The Colors, the Colors!
Divide cake batter into roughly (or exactly) 6 equal parts in other bowls. Color mix/soda batter to desired red, orange, yellow, green, blue, and purple hue with gel colors. Betty Crocker makes some, look in the frosting section. Add 9-15 lines of 1.5" of gel color from the tubes or just eyeball it until it looks good. Do all colors before starting to fill the pans.

To get orange and purple and a limey green, I had to mix proportions. Plus, I was curious how much color it would take and wanted to measure. The method that worked well for me was to use my IKEA dessert spoons (because I have a dozen of them), dip one in the batter and turn it over. On the back of the battered spoon, I drew lines the length of the spoon bowl, starting with the proportions suggested on the box and altering to taste.
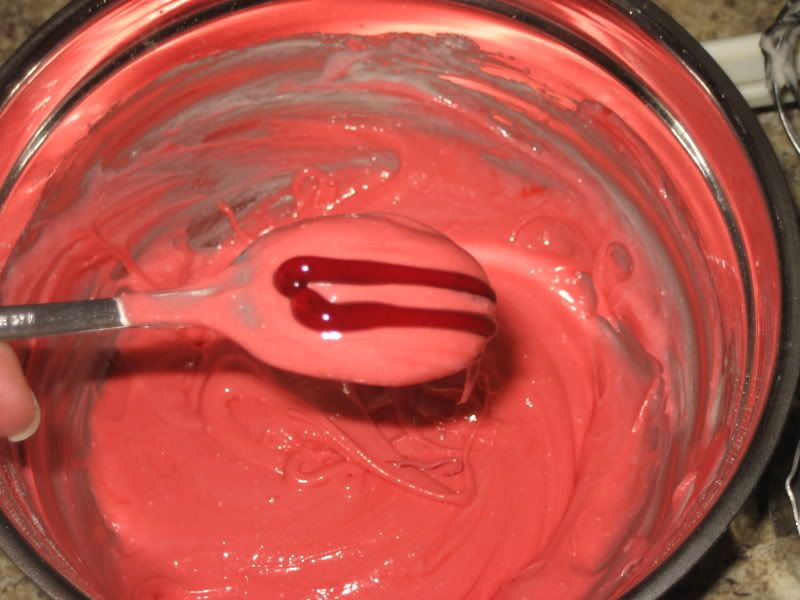
Then I turned the spoon back over, swirled it over the surface to spread the color out a bit and then stirred like mad.
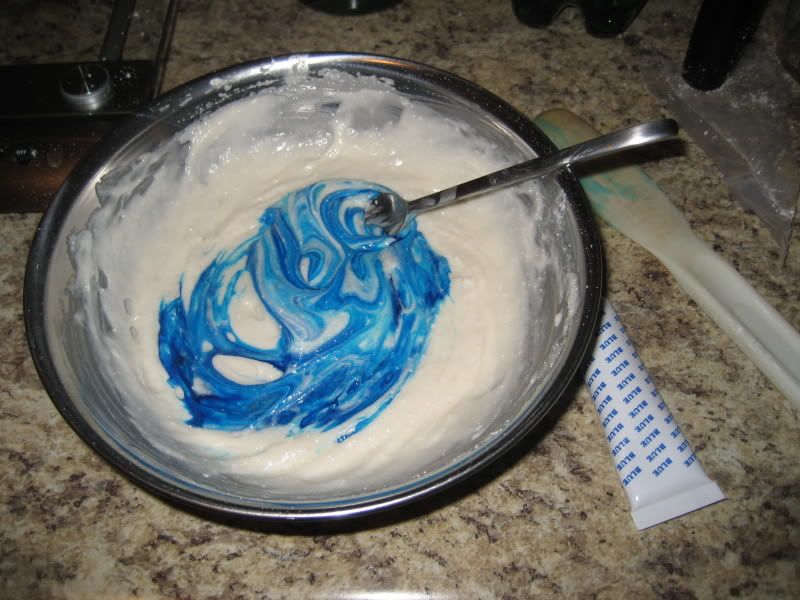
Putting the batter on the spoon first meant no intense bits of color stuck to it; it all blended in. I used about 9 lines (roughly 1.5") for single colors in the 1/4 box batter and 12-15 for slightly more intense color in the 1/3 box batter. On the second cake I got cocky and just put all the yellow color in at once for the orange batter.
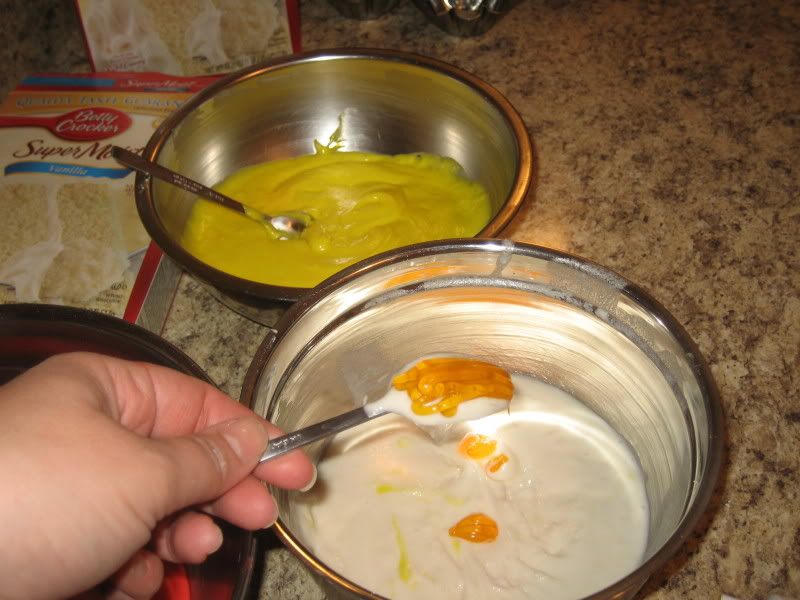
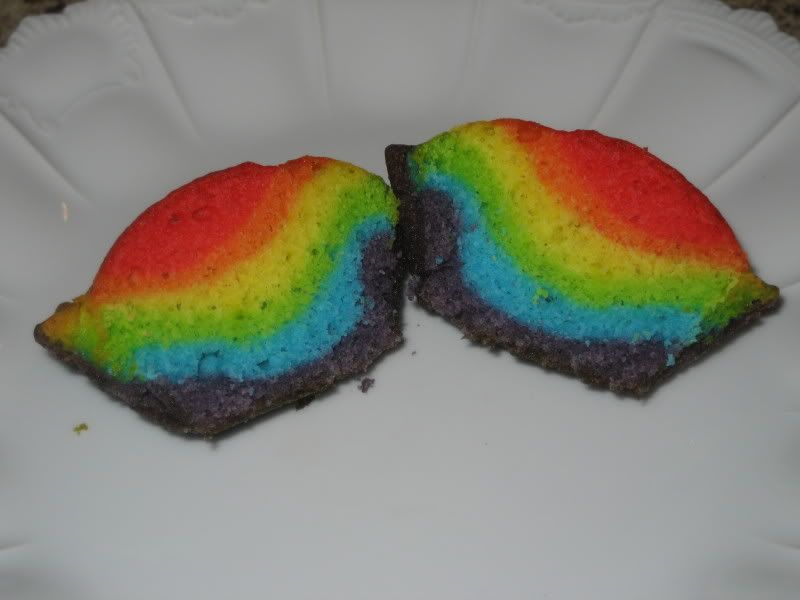
To get a rainbow, dump about 2/3 of the red in center one pan, slightly less than 2/3 of the orange in center of red, then half of the yellow in the orange. Similarly, Dump 2/3 of the purple in the other pan followed by slightly less than 2/3 of the blue and half of the green.
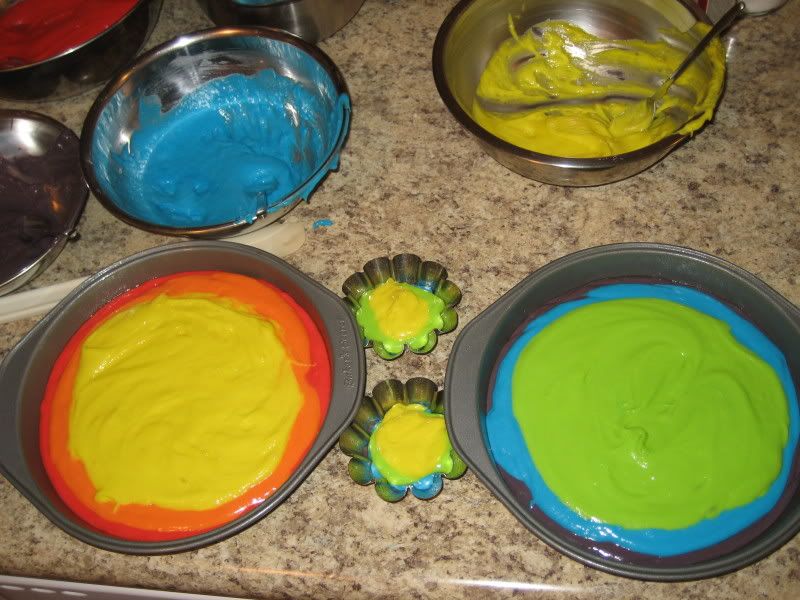
Then switch sides and continue to layer with remaining colors in order.
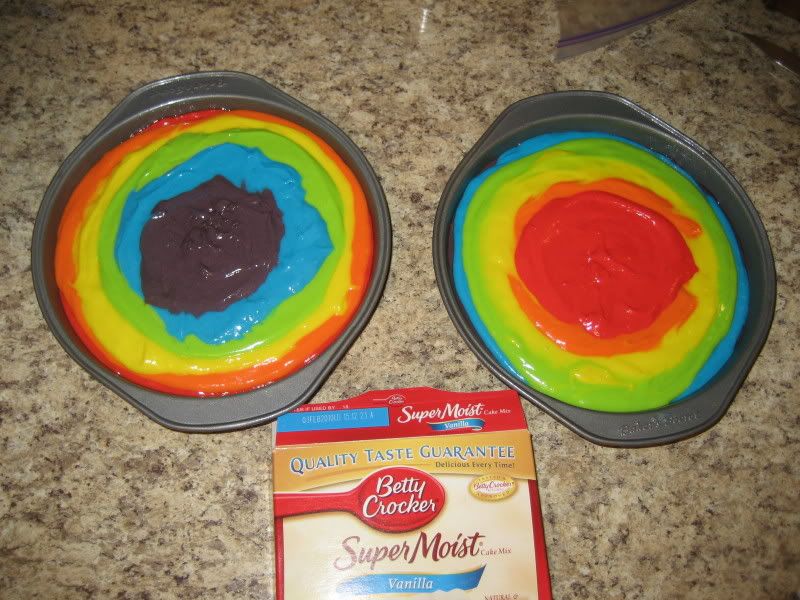
This method of regular and reverse rainbow order helps balance out the inevitable asymmetry of color usage. You can use a different method, scattering blobs or trying for even layers, but this method works to put every color in every wedge slice.
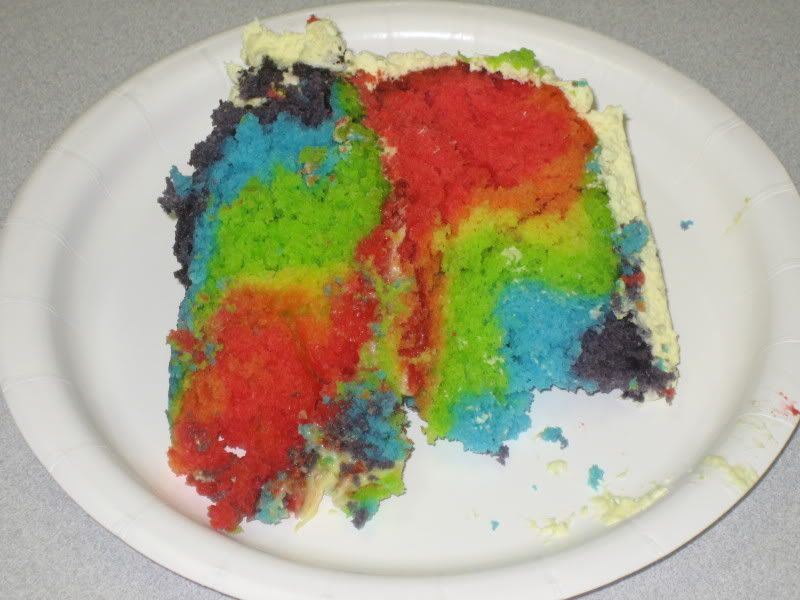
The colors stay distinct if you don't massage it too much. This is the other result.
Baking
The first cakes became dark before fully cooking at 350F.
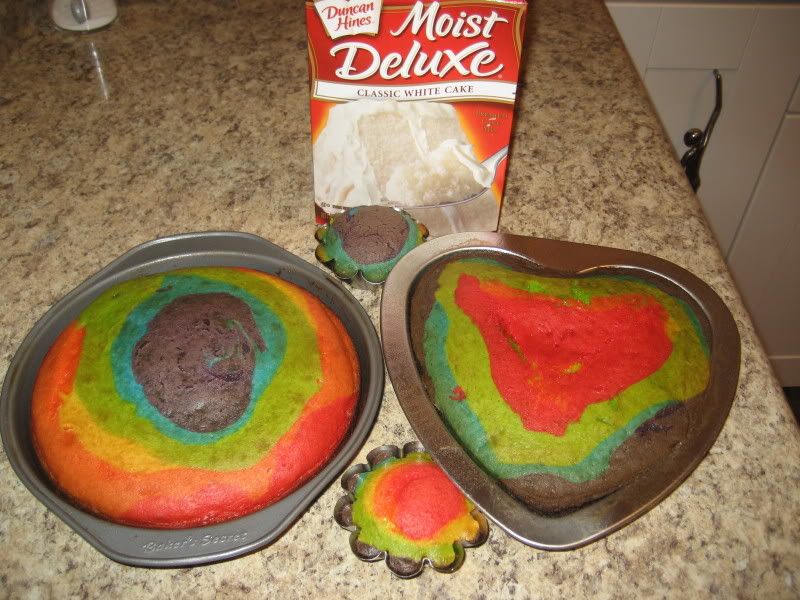
On the other hand, the bottom of the cake turned out fine.
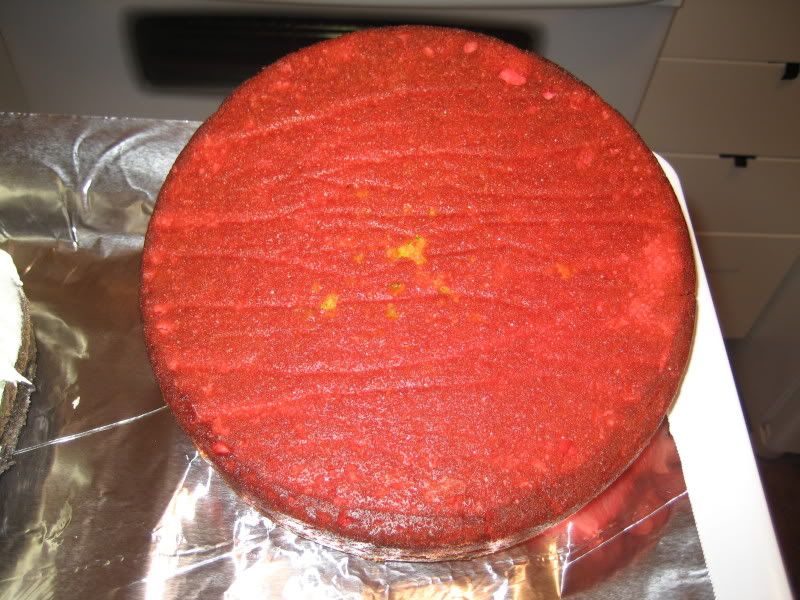
I decreased the oven temp to 325F and tented the cakes with Al foil for the last 3rd of the time. They looked like this when I tented them, at about the minimum time on the box for the pan size.
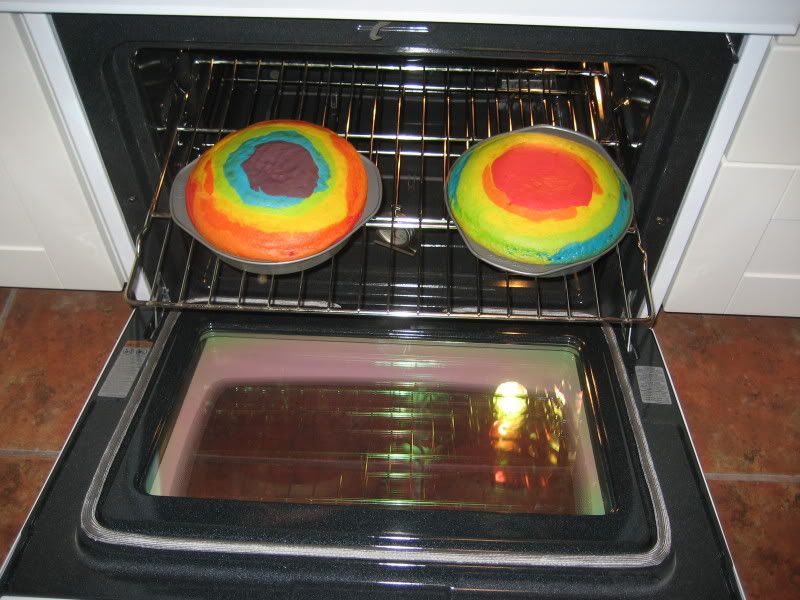
And like this when they came out! These cooked about 45-50 minutes (18+15+15 on timer plus time to shift, tent, etc).
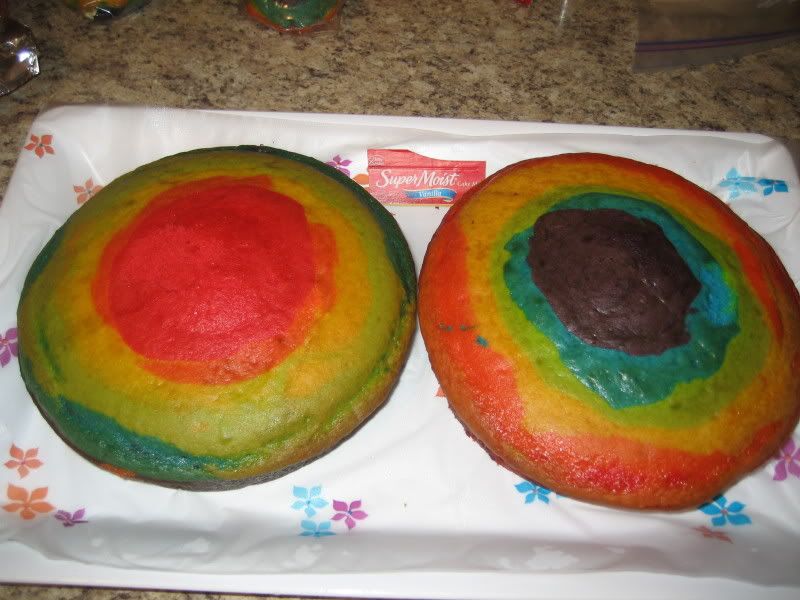
I let them sit in the pan for 15+ minutes to solidify and make them less fragile, but I still ripped a little bit off the top where some of it stuck to my hand.
Soda Verdict: Before starting, I knew that diet soda was an option, but I don't eat aspartame. Apparently any light colored soda would work, but I wanted to know if it was just the carbonation or if it needed some of the other soda ingredients. From my tests, all carbonated liquids worked fine. I did not try any non-carbonated beverages. Squirt and Club Soda tasted the best, probably due to adding salt and the fact that Shasta ginger ale is nasty. It worked fine to make cake but did not add anything. After cooking, I think it all tasted the same. And I would add in an egg per box if available to see if it helped with making the cake less fragile.
Gel Color Verdict: The colors, they were glorious and entertaining. Gel colors are awesome.
Bake Mix Verdict: There was about 45g more mix in the Betty Crocker, which slightly overshot the "517g" listed on the package. Both cakes taste a little chemically to me, but not much and about equal. The textures appeared the same as did the color mixing and baking. For all intents and purposes I can't tell them apart for this application.
The Frosting
But wait! There's more! 2 more ingredients.
- 8oz. tub of non-dairy whipped topping (Cool Whip) at fridge temps or so.
- 3.4 oz package of dry Vanilla instant pudding
- 2-3 oz soda or seltzer (or milk, if it won't be sitting out long)
Mix ingredients in any order. Frosting should be smooth and form stiff peaks. Spread on cooled cake. (Repack in container and refrigerate if not needed immediately.) Carefully stack another layer on and keep frosting. If it's goopy add another T of liquid and keep going. Cut into your fabulous Rainbow cake and show everyone the pretty colors!
Just to make things harder on myself, I tried both Lemon and Vanilla puddings. The lemon is tolerable. But the vanilla just turns into a taste sensation. I think I'm going to use it for a strawberry dip for dessert sometime. (Although I could be moved to mix the pudding with actual whipped cream, I do love me some Cool Whip and that flavor comes through .) No one else seemed to care though, so pick your favorite flavor. You can also add a T of your favorite booze if you are so moved.
Pudding Verdict: Vanilla over Lemon, no contest. Lemon is tolerable; Vanilla is lush.
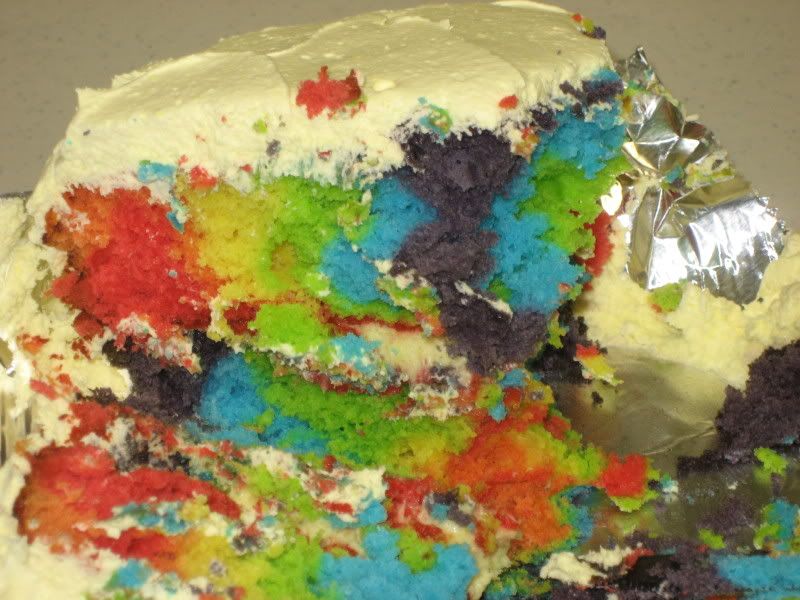
You can also make cupcakes. This might be a good candidate for "ice cream cone" cakes where the batter goes into flat bottomed cones to be baked. Layer it a t or T by a time. The presentation can't be beat.

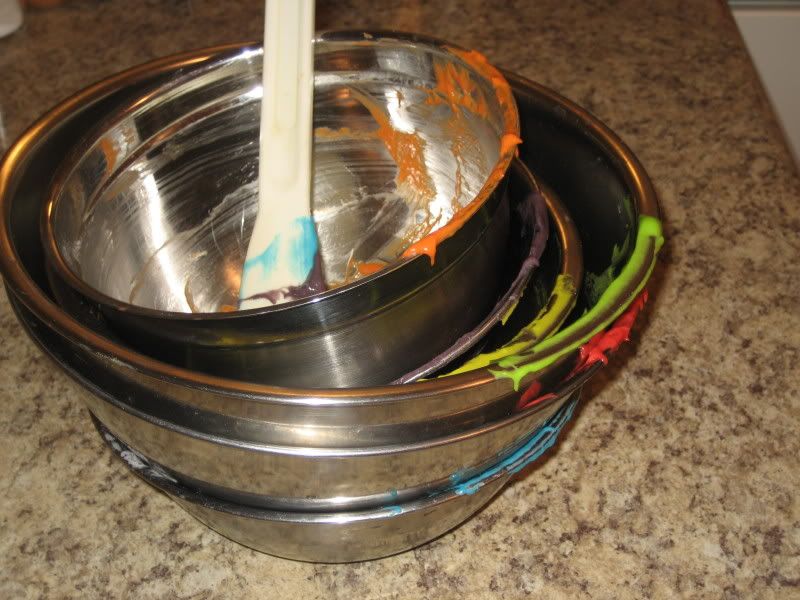
This cake, it is not organic. It is pretty fun to make. If you let your kids eat food coloring (some people have really bad reactions), it's an extra good project because there are 6 spoons and spatulas that need to be licked clean. And then it turns into cake.
-------
This post is backdated because blogger doesn't do a jump cut that I know of, there are a ton of pictures and I didn't want to inflict that on the unwilling. Actual post on 4/9/09, time of post original.


No comments:
Post a Comment