 | Then she laughed with my neighbor over my new decorative acquisition - the tiki totem - while the neighbor's husband helped me haul my old loveseat out for the person who claimed it 30 minutes after listing. No, the tiki totem was not an impulse buy - check the design collage! The tongue modification I did myself. |
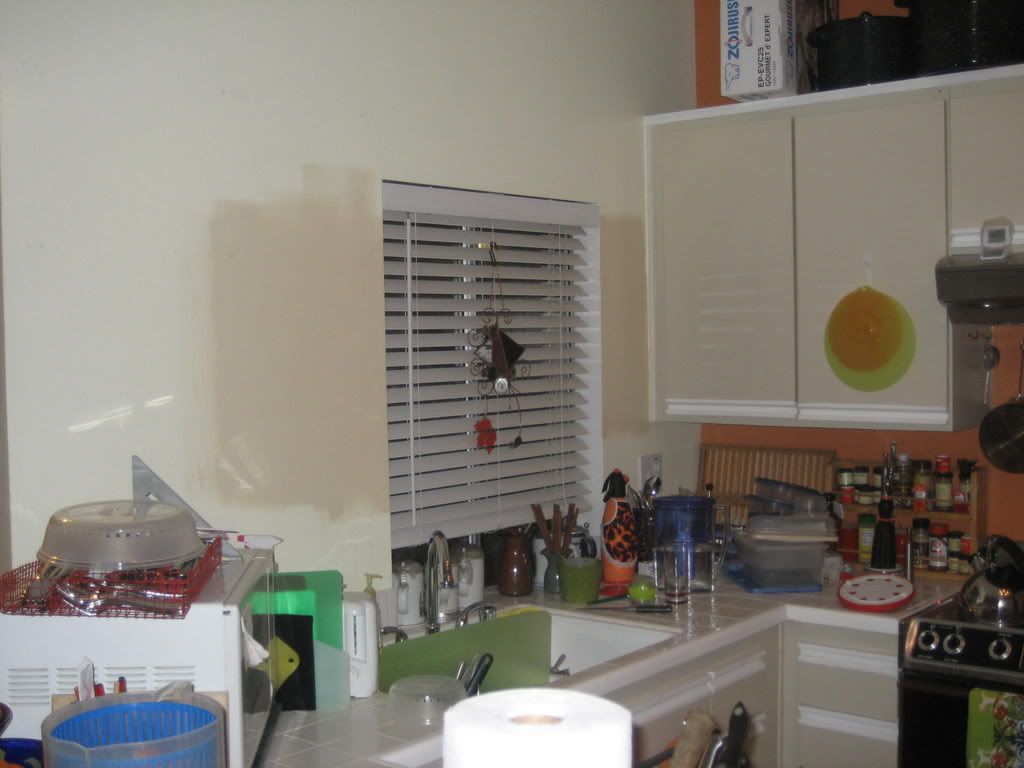
As requested, here are pictures from the start of my kitchen reno. I started with a wall that had no cabinet, test swatches of paint, and a microwave taking up counter space.
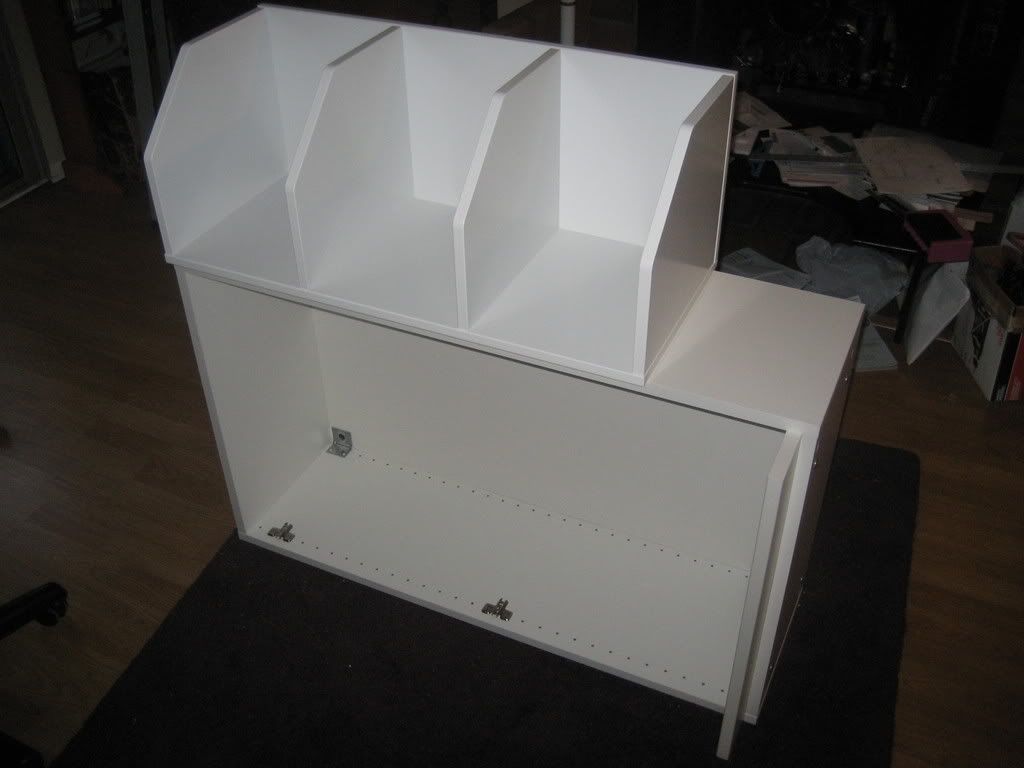
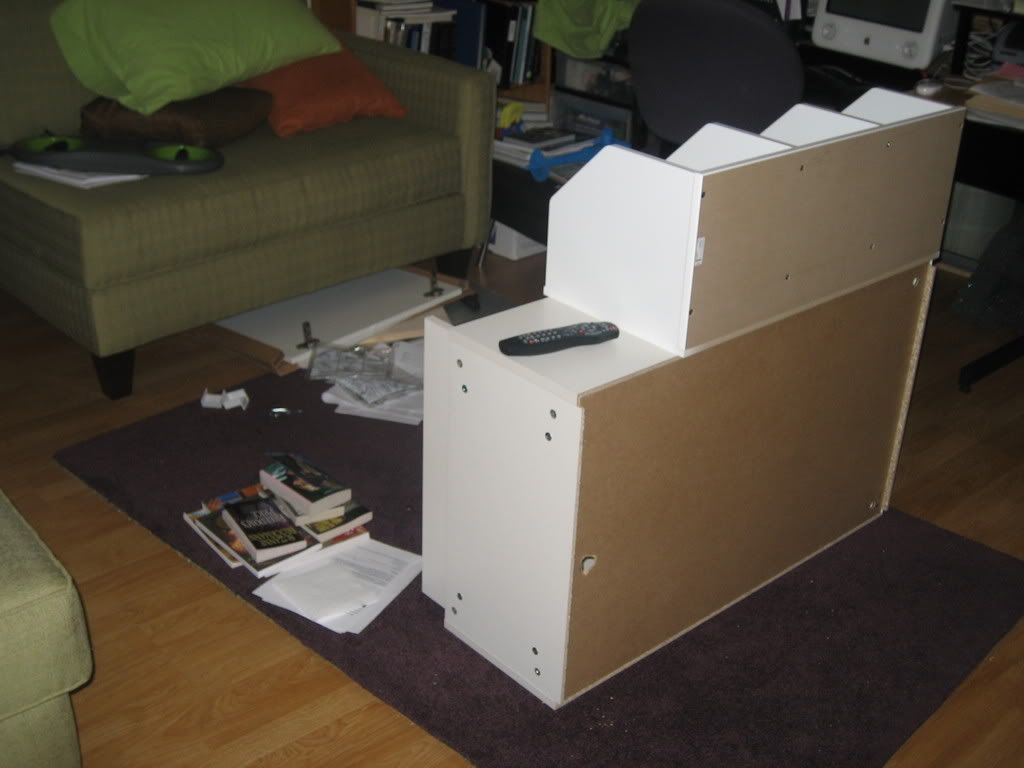
So I went to IKEA, bought a cabinet and spent waaaay longer than I expected putting it together just the way I wanted. Its first home was the middle of the living room.
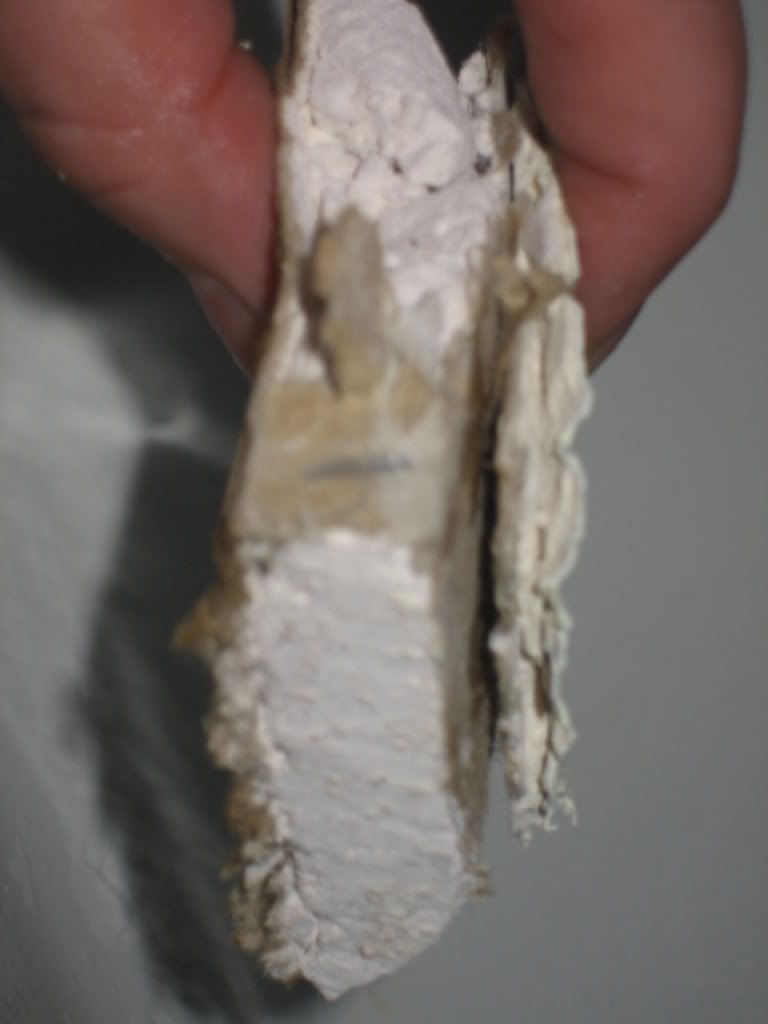
I don't know how well this will show, but in my studfinding attempt, I woodpeckered the wall but good.

Visiting friend bought me a studfinder to save my future walls. In my defense, up until this dwelling, I had plaster and lath which are contraindicated for electronic stud finders.
I also repainted. I don't know why, but I can't stand the thought of the wall being unfinished behind the cabinet. Even on decorating shows it drives me nuts, so here's the paint job.
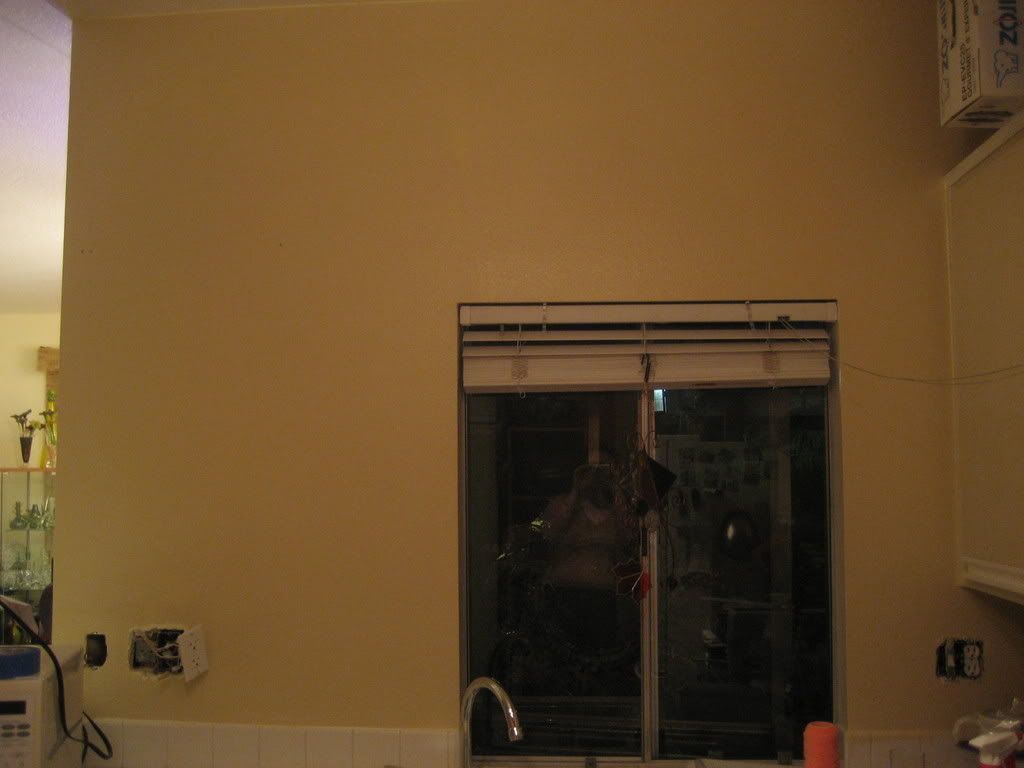
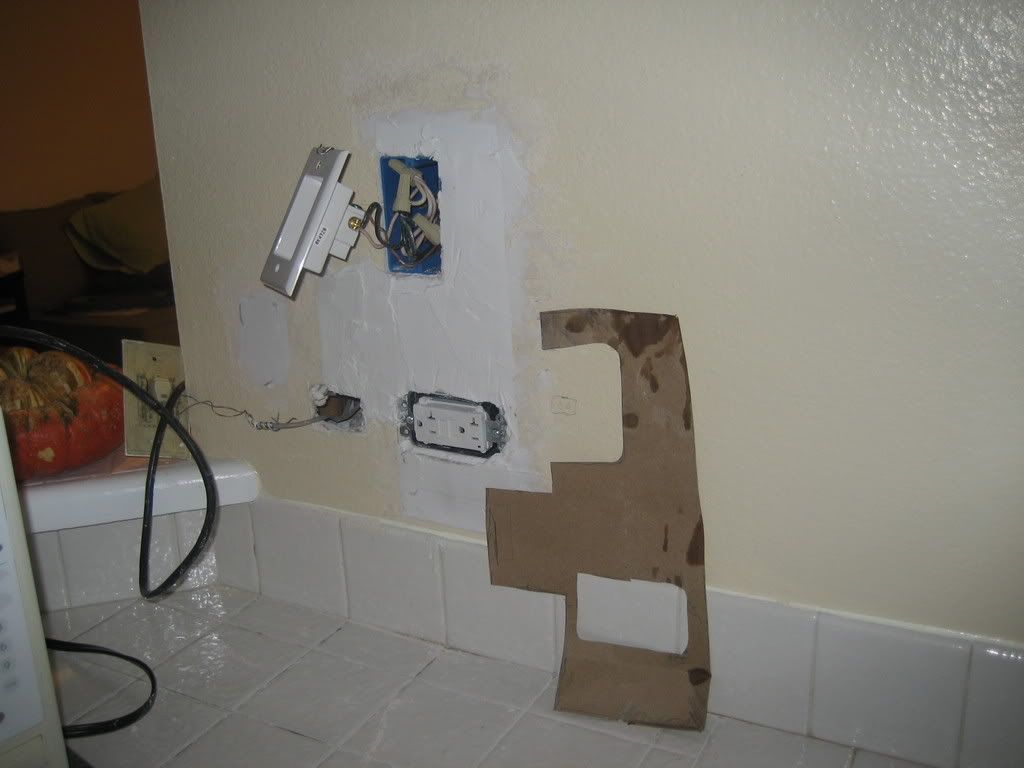
But wait! I measured again and I needed to move the outlet down so the cabinet base wouldn't rest directly on it. I thought it would be a good idea to turn it sideways too. But wow, I had to dig through a lot of drywall and whatnot to make the hole.
I persevered. I had to dig out way more wall than I anticipated to get the old outlet box uncovered and removable.

At the Ho.me D.epot with a view

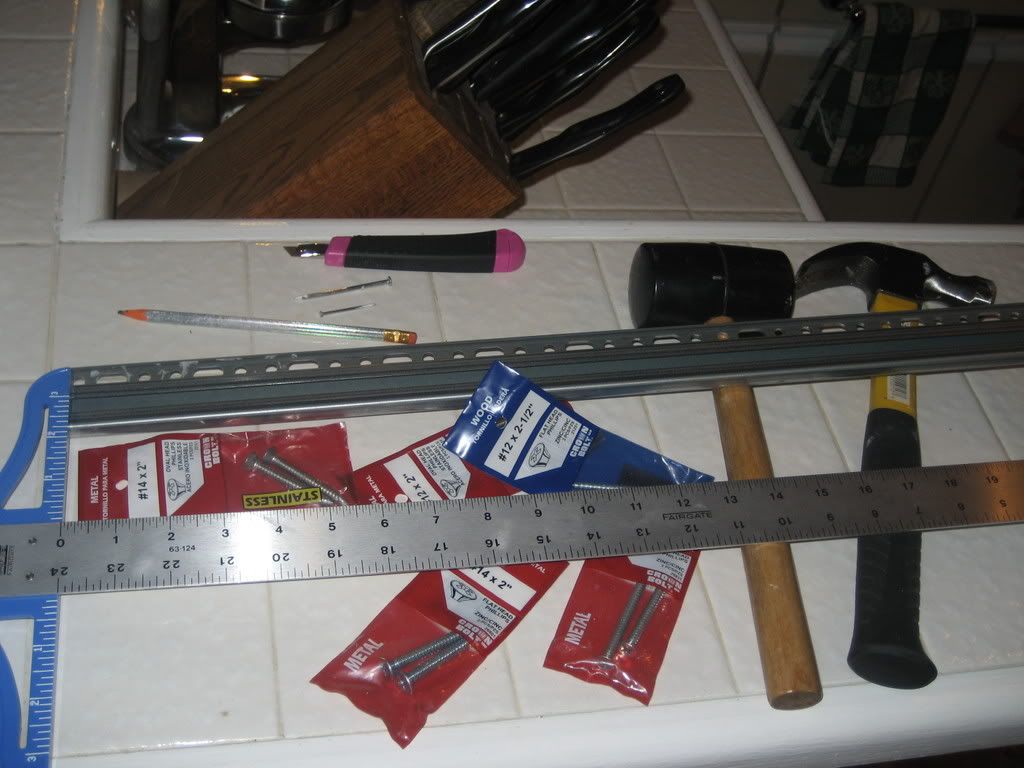
I found that sockets for sideways outlets are not thick on the ground. I also decided to hire an electrician I met there to split the outlet in two so I could have a dedicated microwave plug. In the meantime, I bought a selection of screws to figure out what would be best for mounting the bracket that holds the cabinet. The #12 2.5" machine screws were the winner. (The wood screw sheared off.)
The outlet work went well but involved an ever larger hole in the wall.
In the meantime, the cabinet was settling in as a remote holder and stuff was building up around it.
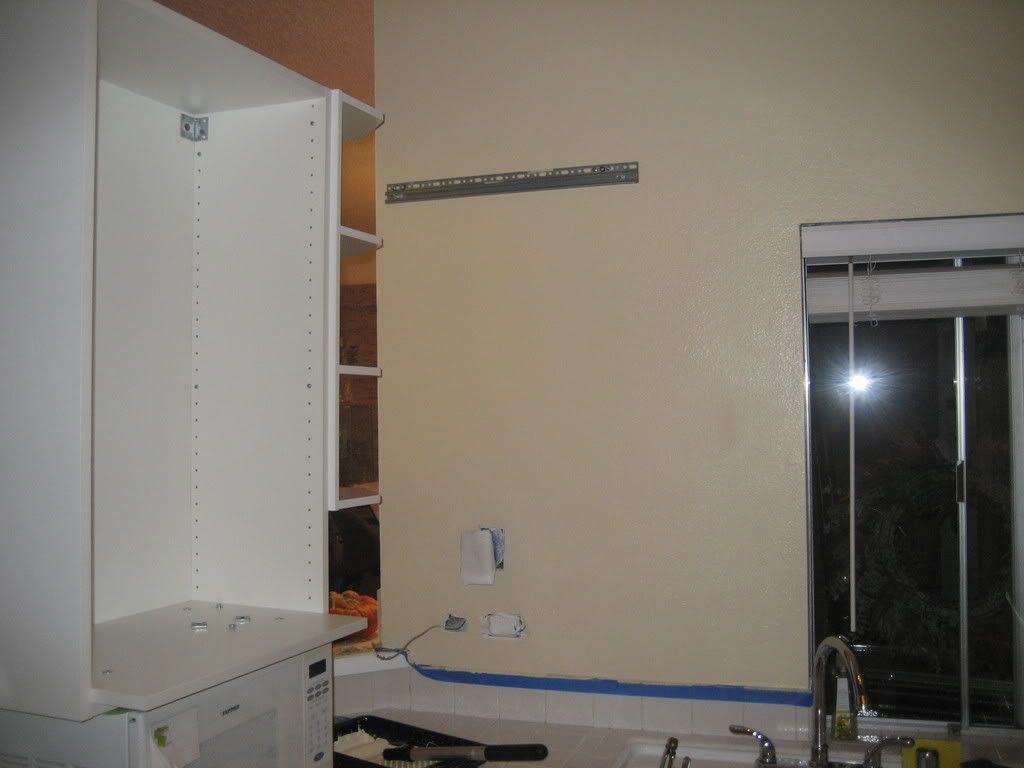
I got the patch done, the paint got a second coat, and aside from the sheared off wood screw, the hanging bracket went up smoothly.
And here it is, all hung up. My neighbor helped me lift it twice, my friend once for leveling.
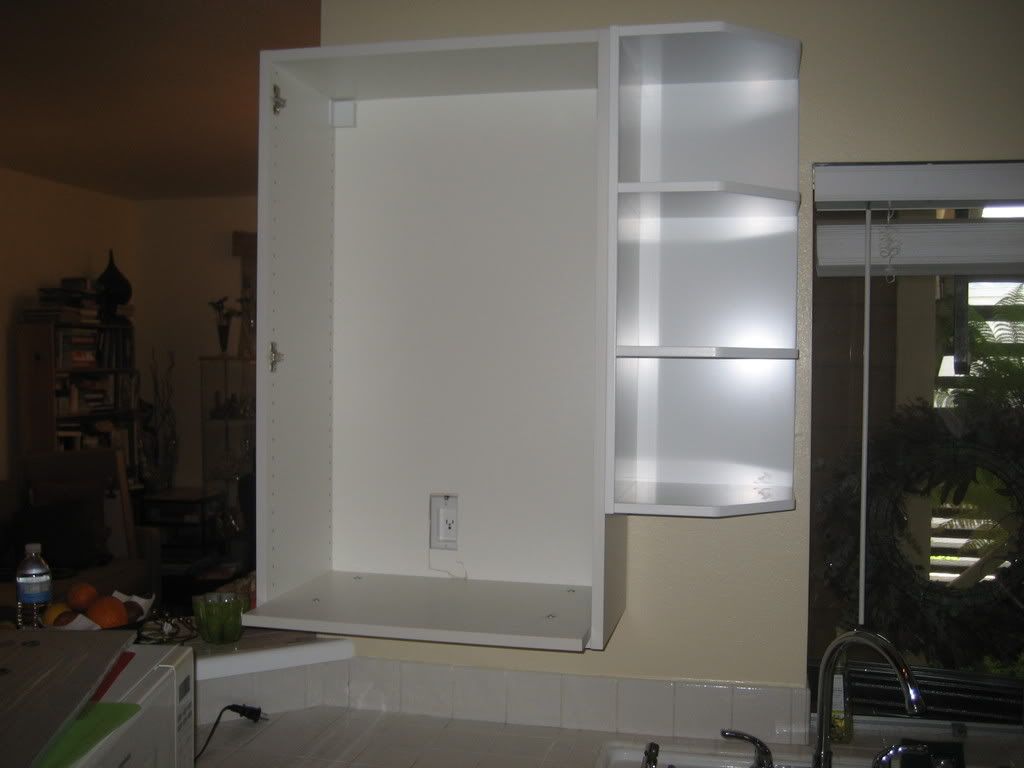
I placed the cabinet lower than usual (10" up from the countertop) because it holds the microwave and I don't want to tip hot stuff down my front. Plus I don't use that section of counter for prep work anyway. But having it clear so I can sweep crumbs over to the sink will be nice.
Here it is with some stuff in it.
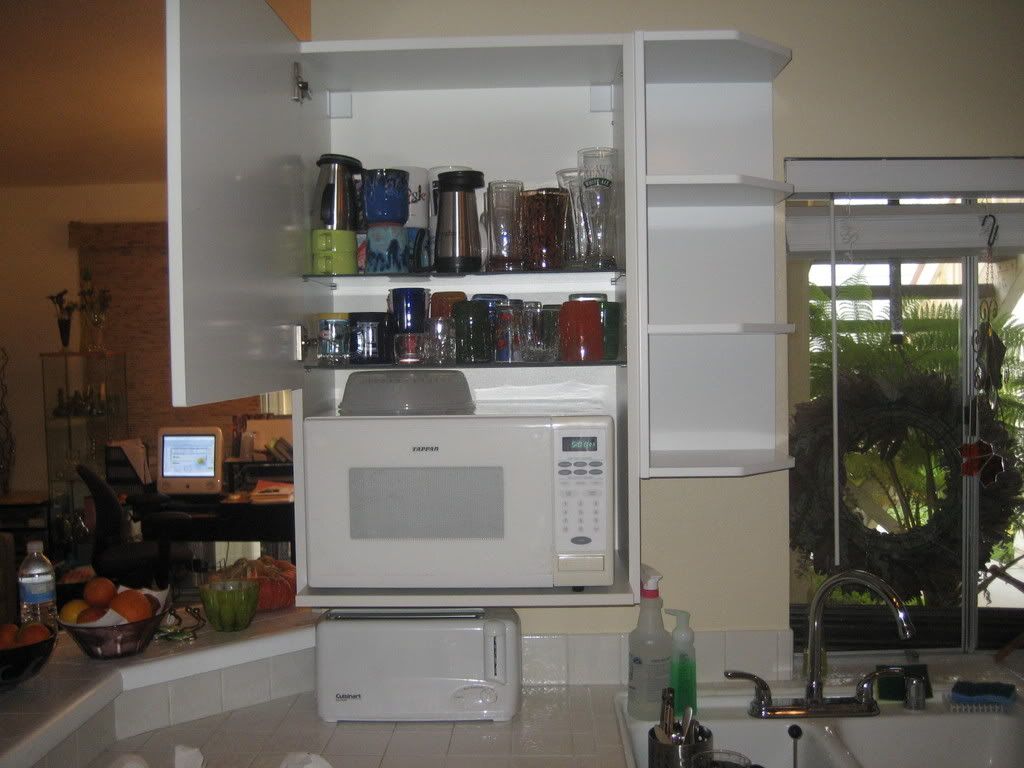
And here it is, all done but for the handle (coming in tuesday) and the interior stemware rack. (Don't get me started. I went to 6 stores and none have a standard stemware rack. Gah!) Even so, it's as done as I can get it for now. Adel White door front. I like it.


4 comments:
Instead of me going to you... you're coming to me... right??? There is a bathroom that needs fixing... the boys' room I am having done, it will just be easier that way.
S.
WOO HOO!! Great job Otter!
so are you still mulling over having bar stools/a breakfast bar on the island where your microwave used to be?
QL
I think the vaca should still be here-ish.
I'm really psyched with this cabinet. I still have to pick up the door handles and the stemware rack, but using it just this week confirms the configuration and placement were the right choice. It cuts way down on crisscrossing the kitchen for various tasks.
I'm going to keep a bar height countertop but it'll be a bit smaller. Besides, I really like the tiki bar stools...
Post a Comment