The mostly complete saga is here if you want to
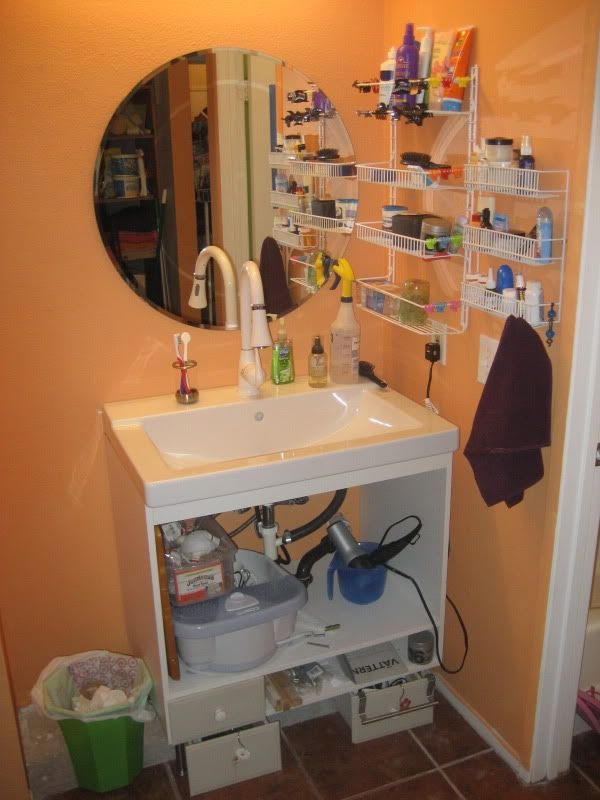
It started out innocently enough. I had the vanity from hell: stained, slanted surface; rusting taps, one of which was turned off because it leaked and was unfixable; undermount sink losing surface finish and falling away from counter enough to need recaulking every year; water damaged cabinet; door/drawer knobs glued on - glued to paint at that... Not to mention that the paint was roughly the color of cave walls in a room with no windows except where I'd been testing color swatches or where my parents had spackled some damage. Grim.
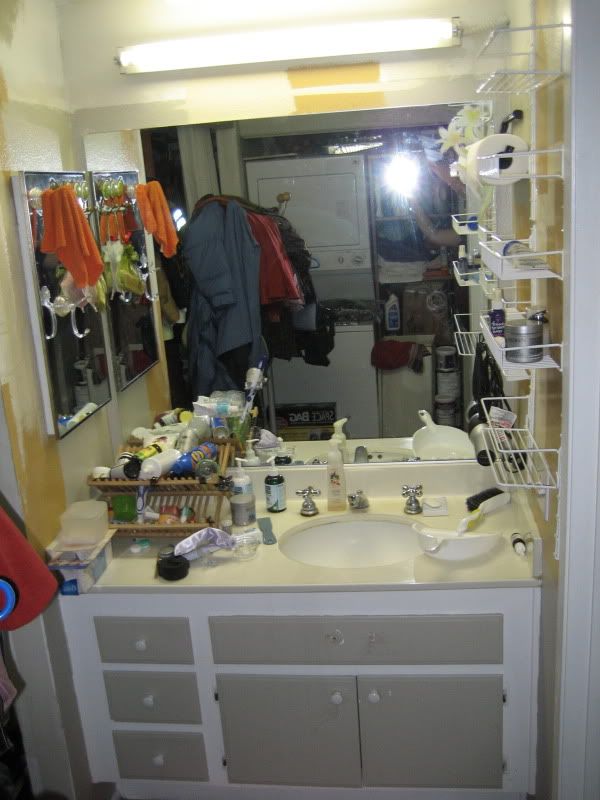
See? Bad. And the mirror was in iffy condition and reflected chaos right above these ugly, rusted, broken taps:
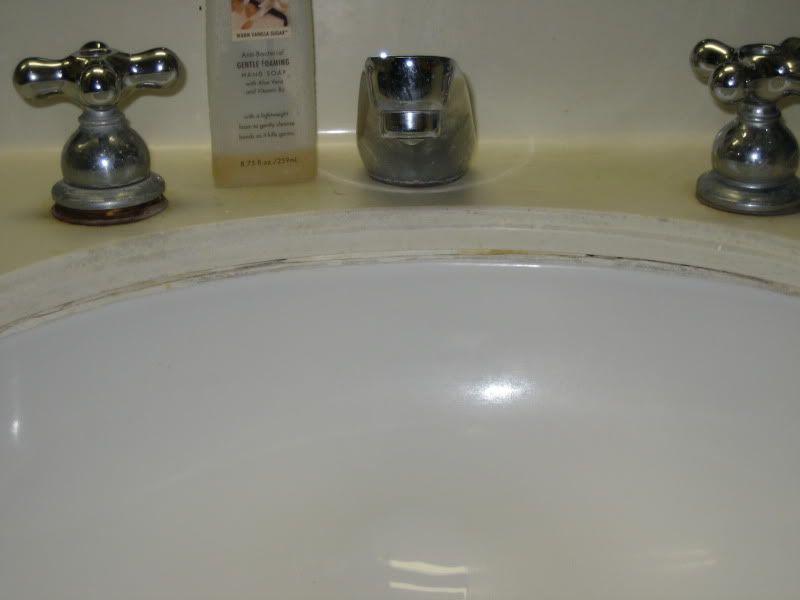
There was literally nothing worth salvaging. But the new sink and cabinet wouldn't complete the whole space and I couldn't figure out a full plan so I made do. I turned off the hot tap when it wouldn't shut off and got only lukewarm water from the cold tap. I threw out the broken off handles. I accumulated replacement items. Then a couple weeks ago the cold tap hit the early failure point of turning off, but not at the "stop" position. I knew from the hot tap that it was a matter of time. My plan was to see if I could finally find a faucet (OSH stopped carrying the $130 faucet I'd planned to use) and put it in one of the 3 holes until I felt like redoing the whole space.
Then, I found exactly the faucet I was looking for, for a mere $78, and couldn't get any part of the old faucet out and said "fuck it" and ripped the whole damned vanity out along with the mirror. Unfortunately, I has also ripped out the spout on the tub because cleaning the rust out required replacing the pipe, not just the spout.
The combination of no water to wash hands with, upcoming surgery, and the exhilaration of getting rid of that godawful contractor grade sink motivated the heck out of me. My plans went from "stash a faucet in temporarily" to "rip out and replace vanity and clean it up enough to look good until the plans advance for the rest of the room". And like all projects, it made sense to add other tasks as long as I had the supplies out. I made the tub filler spout a priority and replaced it sunday while Home Depot was open and staff plumber Dennis was there to custom fit a new pipe for me and my generic $7 spout. (No pic, it's the silver tub filler with the lift pin on the end to engage the shower.)
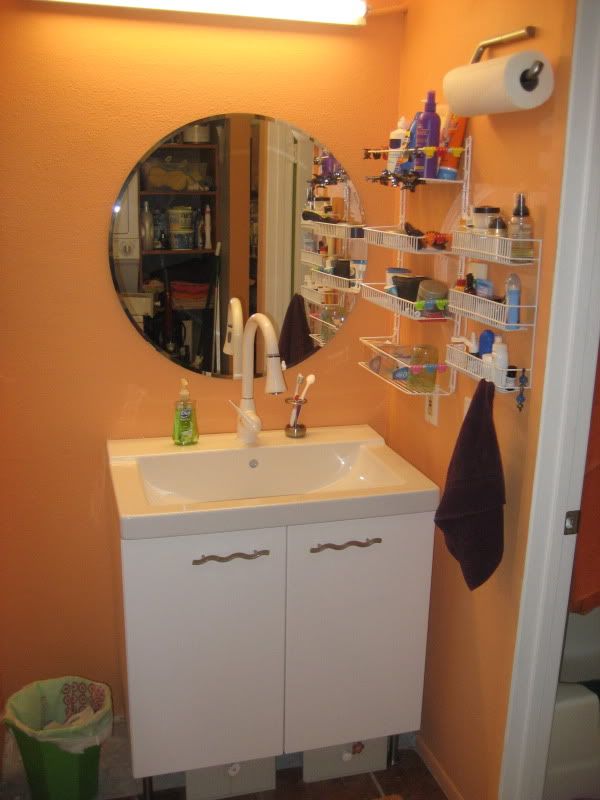
The "before" picture is from the first time I tried putting the shelves on the wall so I could keep the sink deck clear. They work great but weren't great looking and the way I laid them out crowded the space. Working with my organizer, I'd reduced the number of things I needed to keep out and only put 2/3 of the shelves back up. I put the fat ones in back where they won't hide the light switch and moved the paper towels forward. It's better, but they might go in the next round. For now, I like them; they work for me. But back to my story. To start, everything had to come out. This tore some serious gouges in the drywall. I figured I'd patch it up just well enough but not put a ton of serious effort into it because phase 2 involves taking out the miniwalls. (Maybe)
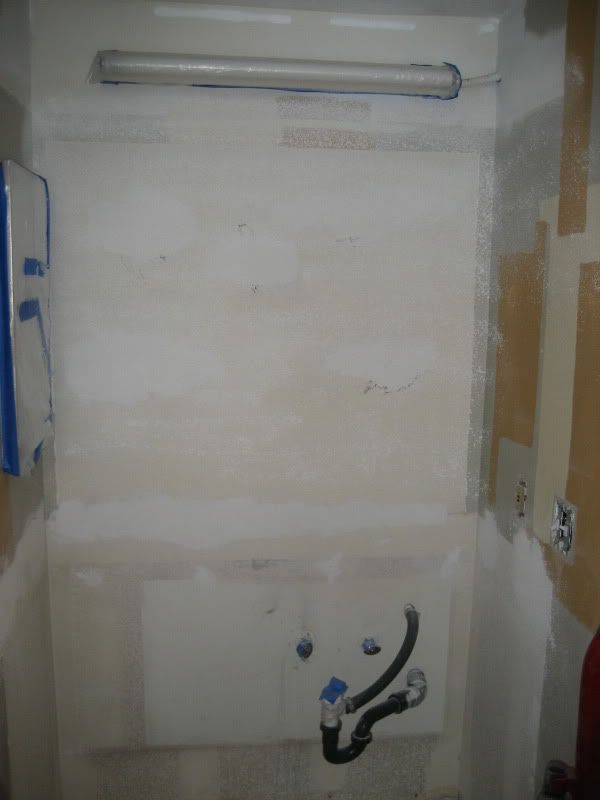
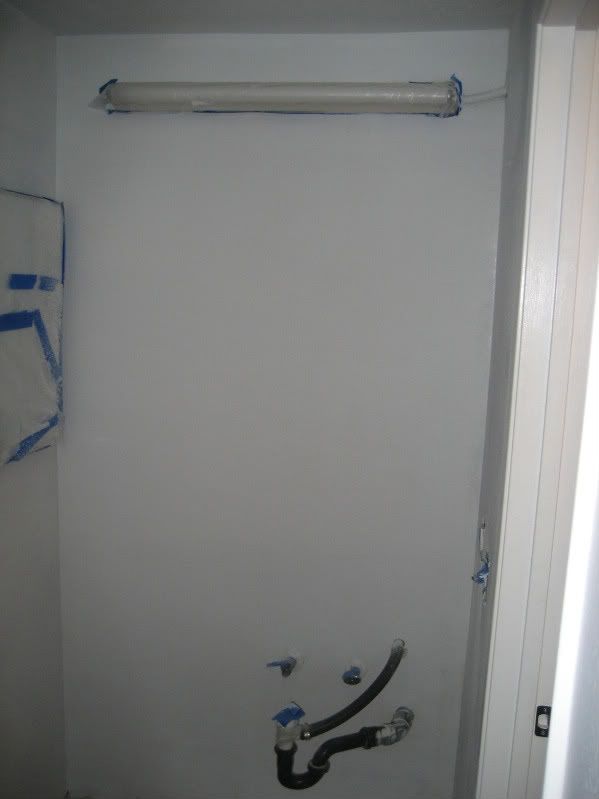
My organizer came over for a couple hours, and instead of "organizing" she helped me get the marble slab from the front door to the dumpster, tape off the vanity area from the rest of the condo (the tub/toilet are in an even smaller windowless room to the right of the sink), and held the vacuum while I sanded the spackle and got dust on ever-lovin' thing it could get on. But everything else, was not just DIY, but Do-It-By-Myself and I still had a good time. I got especially exited when the texture and primer went on and it looked way better than I had any right to expect. I might not even have to rip that drywall out later!
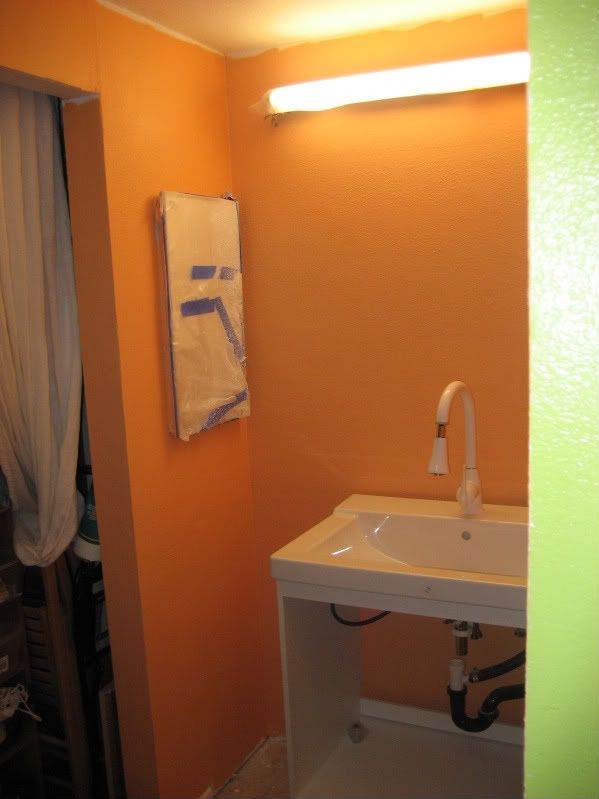
[please let me know if the following images are not rotated properly, I can't seem to sort it out, but it could just be my computer. They're corrected in my photobucket view, but... ]
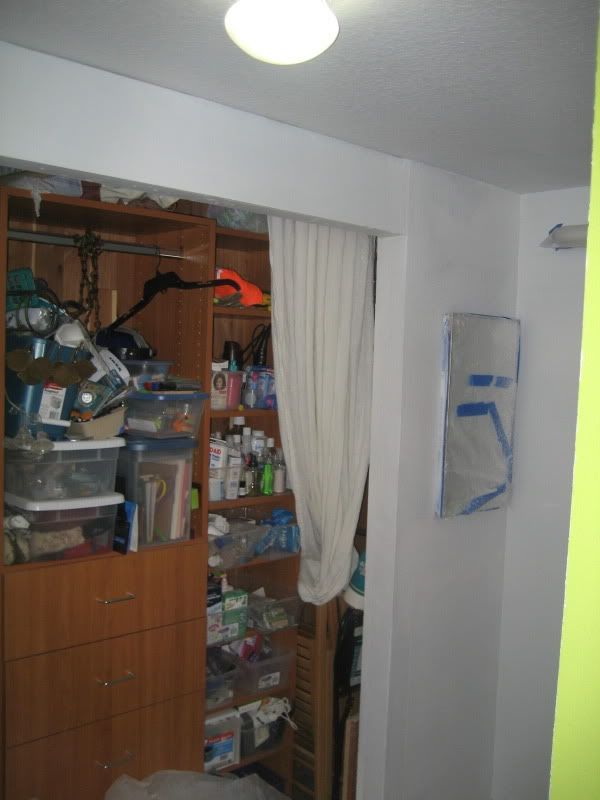
This was where the project started to branch out. As long as I had the texturizer, primer, and masking tape out... I primed the closet surround that was unfinished when I moved in and damaged when I ripped out the bulky bifold doors
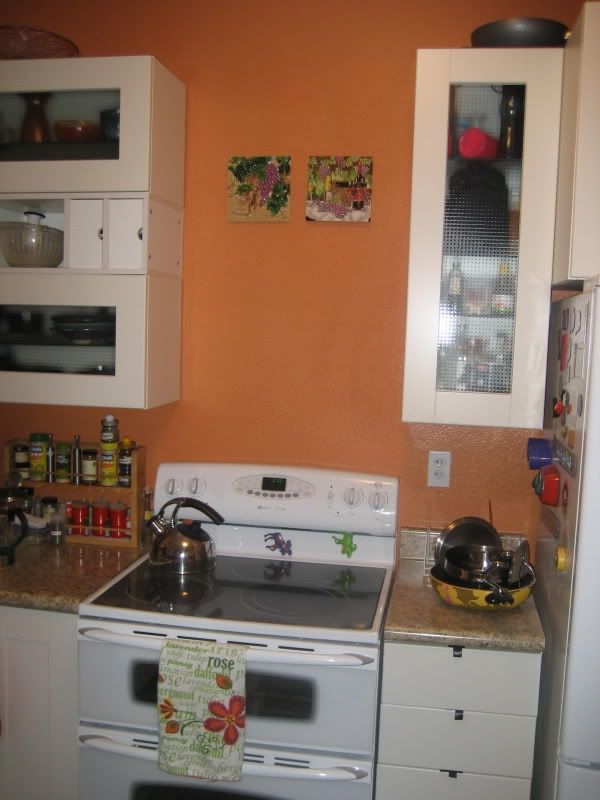
and patched that yellow striped area over the stove in the kitchen.
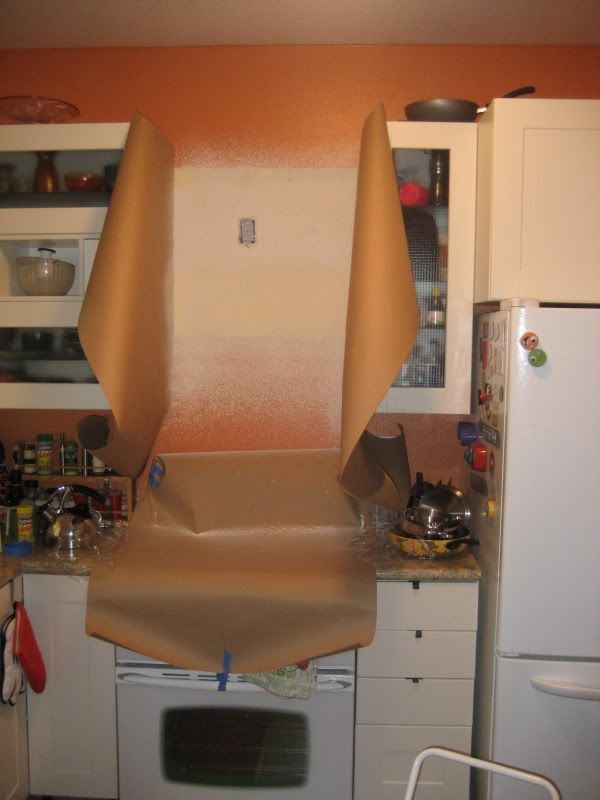
The kitchen turned out well too!
Another motivating factor was finding a $5 can of paint in the "oops" section that looked like a light peach on the lid. The fallback plan was the $55 Dunn Edwards "cameo" beige from the living room as none of the test patches really excited me much. But when I took the masking off the light and got a good look?
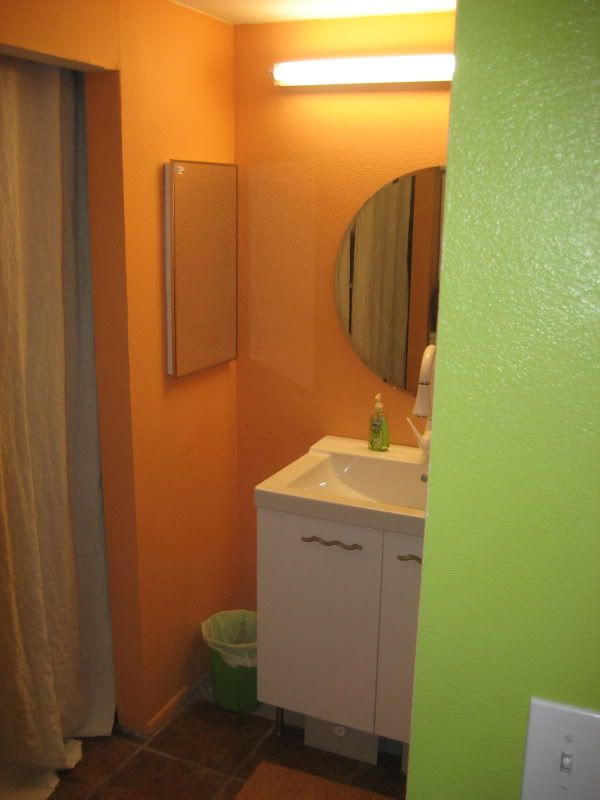
The room was a decided Orange Sherbet! While I wouldn't have picked it out deliberately, it goes great with the adjacent lime green, and turns out to be a decidedly close match to my kitchen paint, in a lighter tint.
It sure was a lot (and I mean a looooooooot) of painting for a simple plumbing project! But the plumbing worked out too, even with the wonky AC drain cut in.
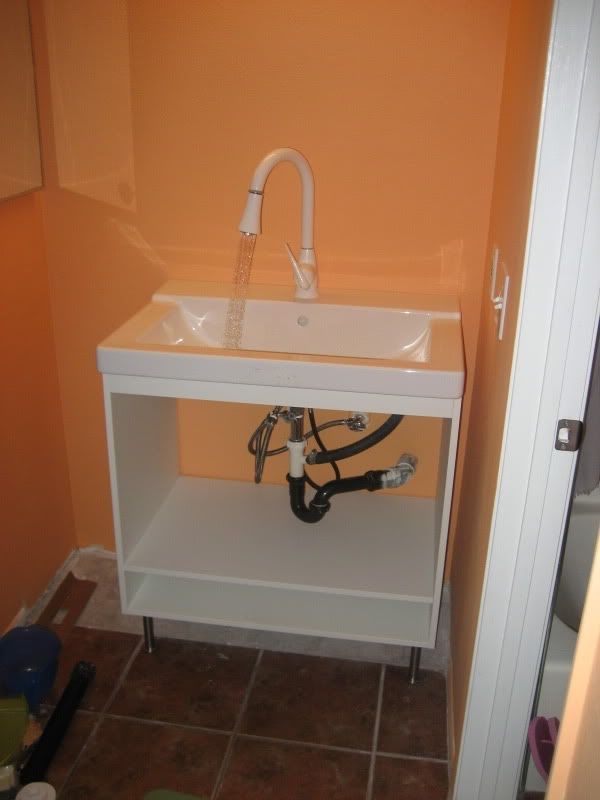
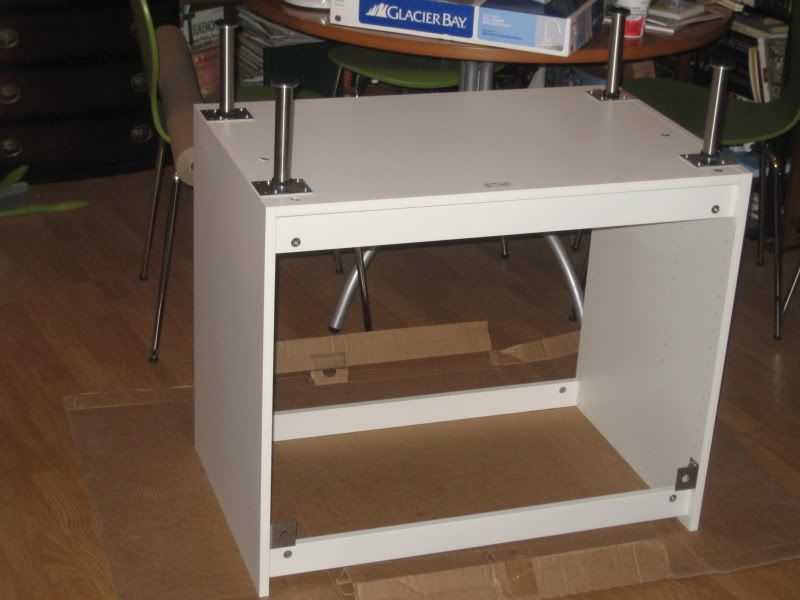
I kept the sink a little further right than I'd have picked, but it meant I could re-use all the drain parts. Then I measured and figured out that if, in the next project, I take out the wall on the left, I have a full meter of space, which means I could fit a full sized IKEA cabinet there. We'll see. For now, though, I have water, a sink big enough to catch water dripping off my elbows when I wash my face, a pulldown spout I can use to wash my hair, and a drain that doesn't leak.
It looks good (I think) as I walk into the room.
The drawers from the previous vanity are hanging out in the hopes that they can be used inside the new vanity, maybe. I had gotten this far by sunday night, including cleaning up everything but the last of the dust.
The punch list was:
- find wall anchors and affix cabinet to wall
- caulk seam between sink and wall
- cut in paint around floor, ceiling, and fixtures
- attach doors
- screw in door handles
The doors I left for wednesday - after the cleaners had come to get the last of the drywall dust - because the instructions said they were prone to scratching for 24 hours the protective film was removed. But even with the scratch warning, I managed to get the handles on and the doors mounted and the whole punch list for the entire project was complete by 8:40pm on wednesday night. Not just "done except for" but done! I've been living with the kitchen "almost done" for so long, and hadn't thought it bothered me, but really, truly finishing this project felt great. And I think it looks great. If you agree, you're welcome to come over and see for yourself!
Extra bonus was being done with a full day to relax before Lasik, actually getting cold water from the cold tap, and having clean staging for the eyedrop regimen.
Cost was roughly $350:
Hollviken large sink from IKEA $110
complimentary IKEA cabinet was $50-$60, I think
Capita legs for cabinet IKEA $8
door handles Target $6
Mirror IKEA $19
Behr "Oops" paint HD $5
Kilz Primer $15
Spackle and paint supplies $12-ish
Sink drain and plumbers putty $12-ish
Faucet $78
It's possible the cabinet cost a little more, but I don't remember. Plus, the awesome stay-in-place wall anchors I already had from the kitchen project. The above plus tax comes out to be quite reasonable, actually. Of course, every time I interact with drywall I swear I'll never do it again. At least not until the next time.


3 comments:
Holy cow! It looks great! I can't wait to come down and see it!
Nice! I'm looking at buying my first place and can see renovations and construction in my future. Home Depot, here I come!
Yes. Home Depot is key. I'm not sure I mentioned the 6 trips to Home Depot in 2 days, although 2 of the trips were really one trip that took two stores to find one with my faucet actually in inventory.
Key piece of advice I got, maybe from watching "This Old House" was to never start a plumbing project when the home improvement store is closed. Plus, plumbing can be nasty so choose those projects judiciously. Anyone can change a faucet with elbow grease, a couple good wrenches, and teflon tape. But anything in the wall is outside my scope. Most drains are outside my scope except that I'd watche the plumbers who'd last fixed this one, and it was pretty straightforward: Plumbers putty and pressure fittings.
Post a Comment