The bathcave, while still windowless, has made great strides. The vanity/ laundry/ closet area used to feel like a closed-in hallway that I did not generally spend time in. Remeasured with the stuff out, it's about 11'x6' which is 9% of my square footage and I didn't much use most of it. By taking out one side of the closet, the header, and moving the organizer parts to either side of the room, there's now a great space when walking in. You can see above that it doesn't looked cramped anymore.
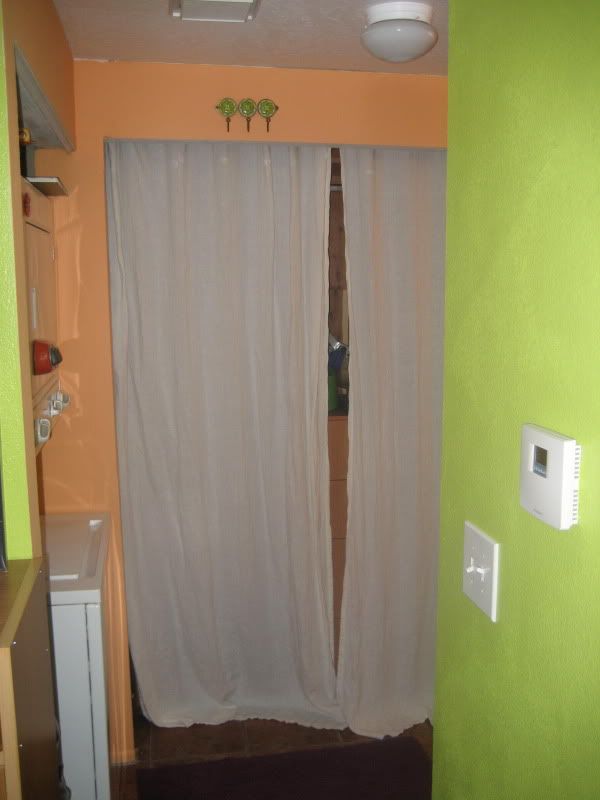
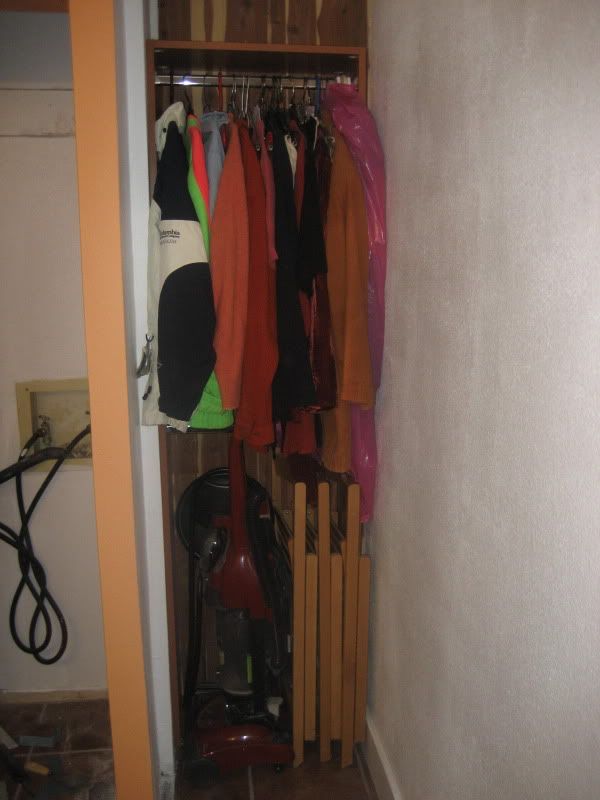
When entering the bathroom previously, this is the view - with curtains closed to keep the clutter from total obviousness. Also, the laundry sticks into the room several inches. It's masked slightly because the oddball closet wall sticks out so far on that end.
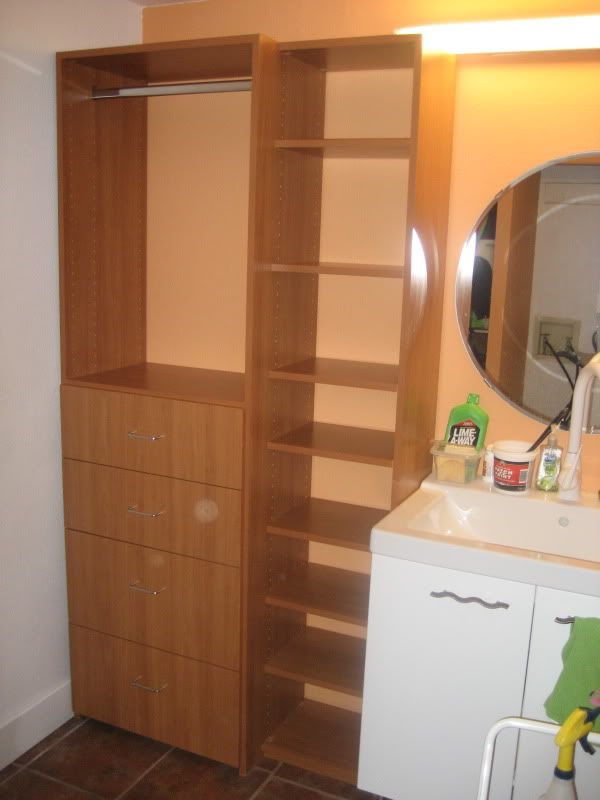
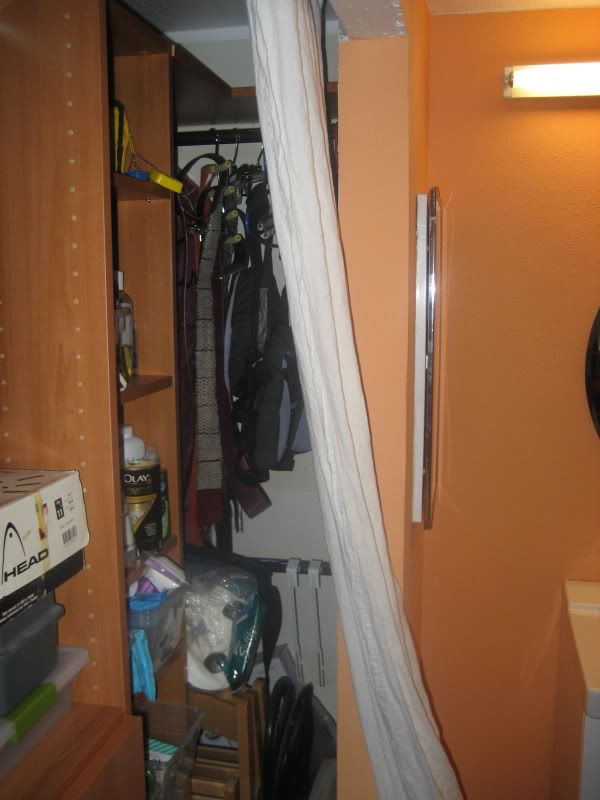
Opening the curtains and walking in further, you can see the nice organizer. Well, the components are nice, but they allowed a roughly 9" gap through which to access the 3 foot deep corner storage on one side and 11 on the other . They'd put in garment hanging racks so the things being stored could actually fit through that gap, but it wasn't workable for a daily use situation. Essentially, I had the organizer and very little else.
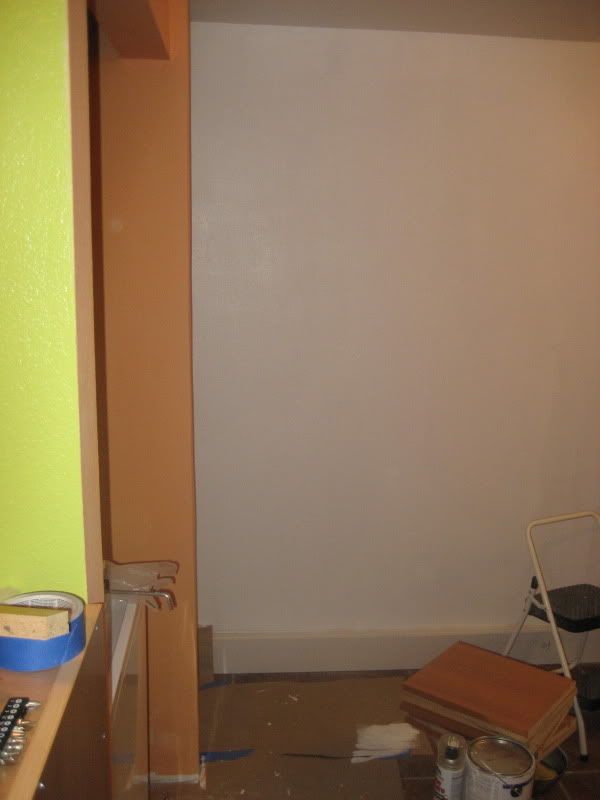
There's so little in that space now that this picture doesn't quite do justice to the space, but notice that there are no cluttered shelves on first view. And yes, I did paint that far wall white. Even I can't handle *that* much orange sherbet.
More details after the jump! Click below.
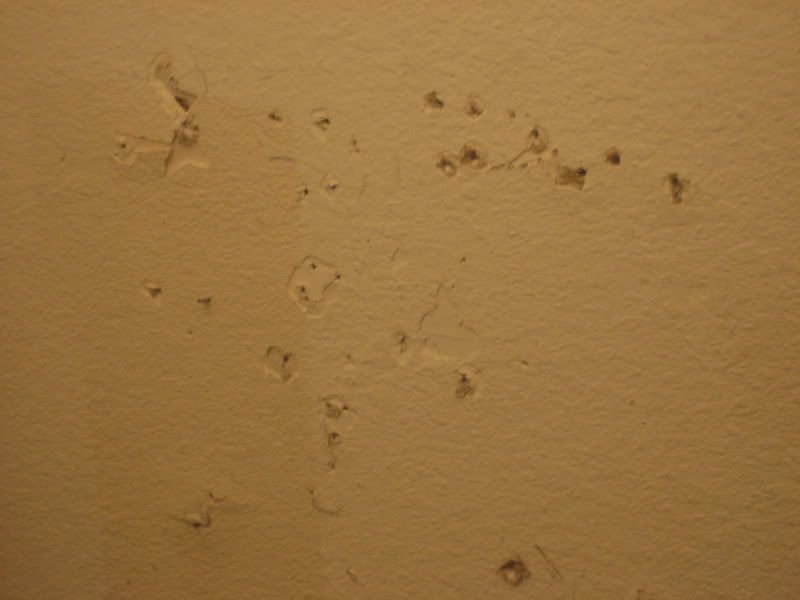
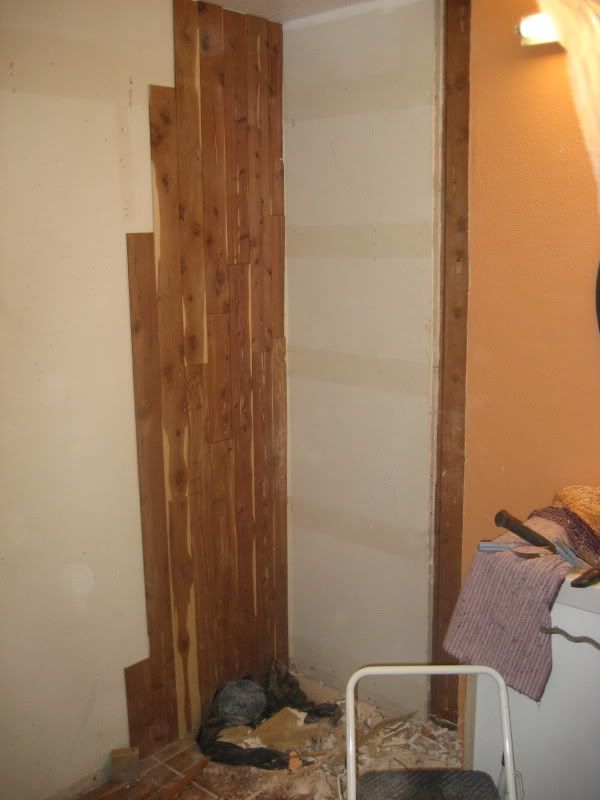
But to get the white wall, I had to take off the cedar lining planks because they just made no sense without the closet being there, or without a sauna furnace which was not happening. Underneath were the remnant images of old shelves where wall patches had never been primed, and roughly 50,000 nail holes from the planking. Some patches were pretty bad, like so.
I've got a little brass hammer with one pointy side and one flat side (as opposed to a claw and a flat strike plate) with nested screwdrivers in the handle. It was a gift from dad and winds up being a fantastic hammer for driving little nails into backer board on IKEA and similar cabinets. At those 50,000 nail holes, the drywall paper would tuft out and make a bump in the spackle. Dad had the genius idea of using the pointy end of the hammer to dent in the nail holes so they would fill easier with spackle and no bumps. It worked great. It was easier to aim if I just positioned it then hit the back with another hammer. Then after that: more denting, spackling, wetsanding, filling again, texturizing, priming and painting. The vast majority of timesink on this project was resurfacing the various pieces of wall including all the white walls below.

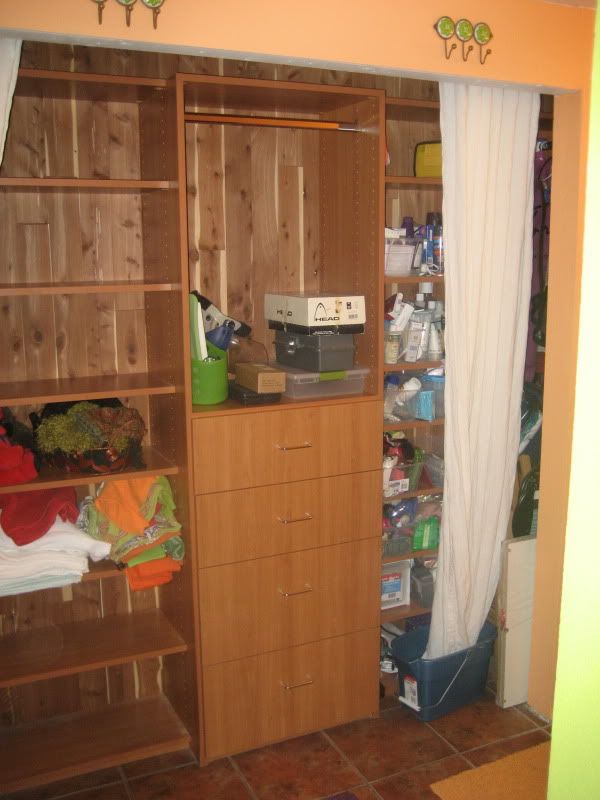
This is the view of the left hand side of the deep closet that was blocked off previously by the shelves. I put some of the cedar back up because it's going to still be deep storage, but now where there's that jog in the left wall and forward will house some pull-out shelves on wheels. That leetl wall took a LOT of work. It was too big before. I pulled off one of the several 2x4s off the front so it sticks out 2" less now. The 2x4s behind it were sideways, so I pulled off one of those to get the jog. The jog means I have 25" for the pull out shelving instead of 23" which leaves a more useful sized space in this world where things are built to fit even foot measures. It actually looks a lot better now than it used to because the proportions work better.
I'd originally hoped to take down all the headers, like this one over the laundry.
 But unlike the other header, this one was original and would require a ceiling patch. Then we moved the laundry unit and found out that the ceiling inside was a hasty patch job already and I didn't have the desire to do all of it, so I left both walls and the header, and it works now that the right wall doesn't stick out as far and is less chunky. Moving the laundry knocked the vent off the wall, and when we replaced it with a more flexible one, we were able to get the machines moved back 4 whole inches. Much better. I'll post that after I finish the shelves.
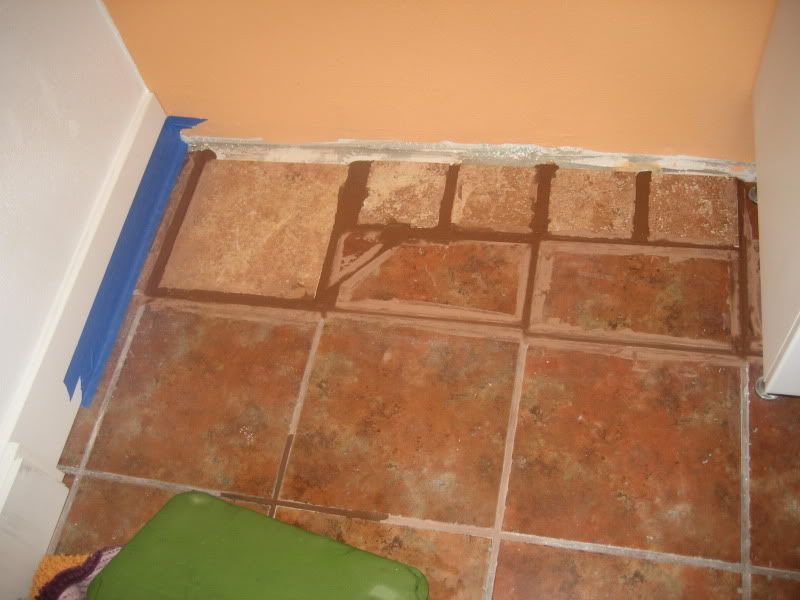
The other critical path timesink was the tiling. I'd used up all my good tiles in the kitchen. I had to take out the partial tiles where the old wall was and patch with a full one from the closet. That left no tile for one course along the far wall.
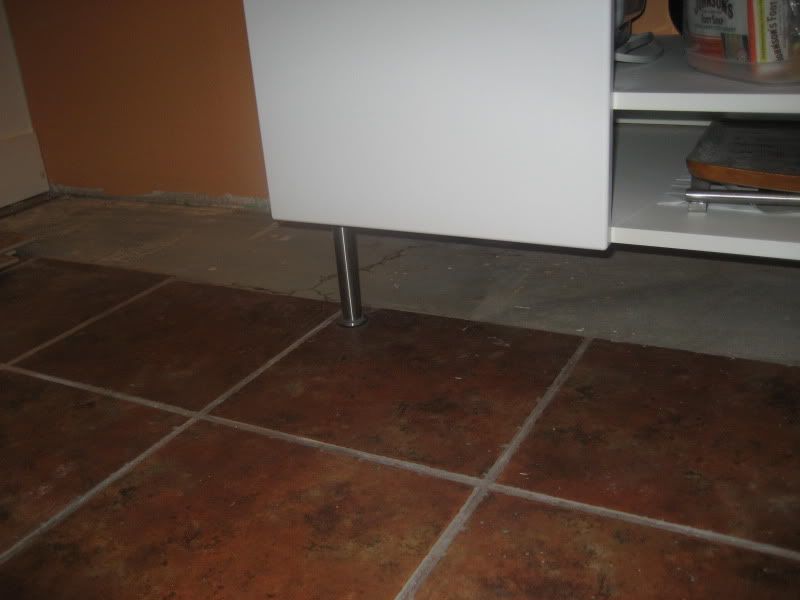
If both bits of the organizer had covered the whole gap, I'd have put a toe kick in front of the vanity and called it a day. However, one of the shelves is recessed more that the other, just enough to show about 3" of tile. I managed to cobble together a cracked tile and several remnants, including a couple half tiles I removed from the removed closet, to patch the whole course using matching tiles where it would show, and the closest match currently on the market where it wouldn't. Like so.
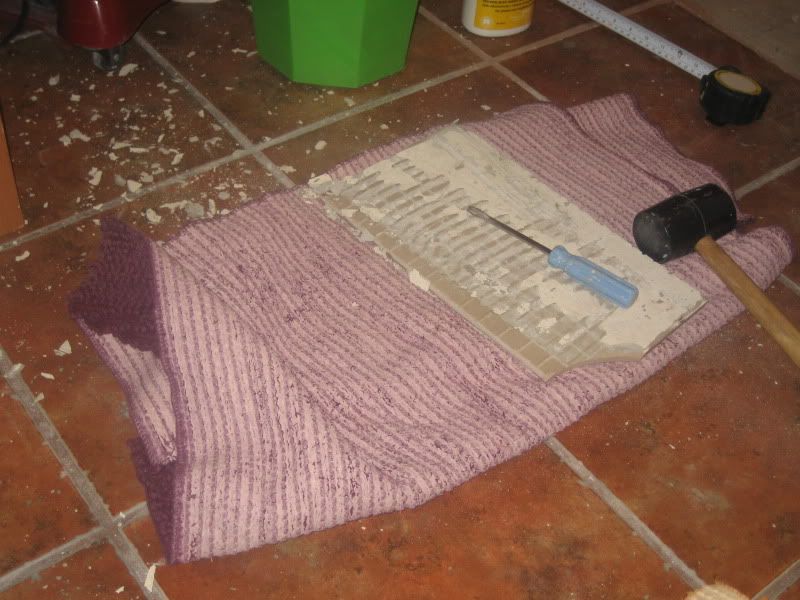
The newly removed partial tiles came in handy here. Fortunately the mastic chipped off reasonably easily (meaning about 30-40 minutes a tile) chiseling with my 20 year old "Do It Herself" standard screwdriver and "the persuader", my rubber mallet. The dying purple bath mat not only was great cover for the sink and vanity cabinet during the destruction, it was also a good pad for holding the tile during cleaning so I didn't damage it or myself.
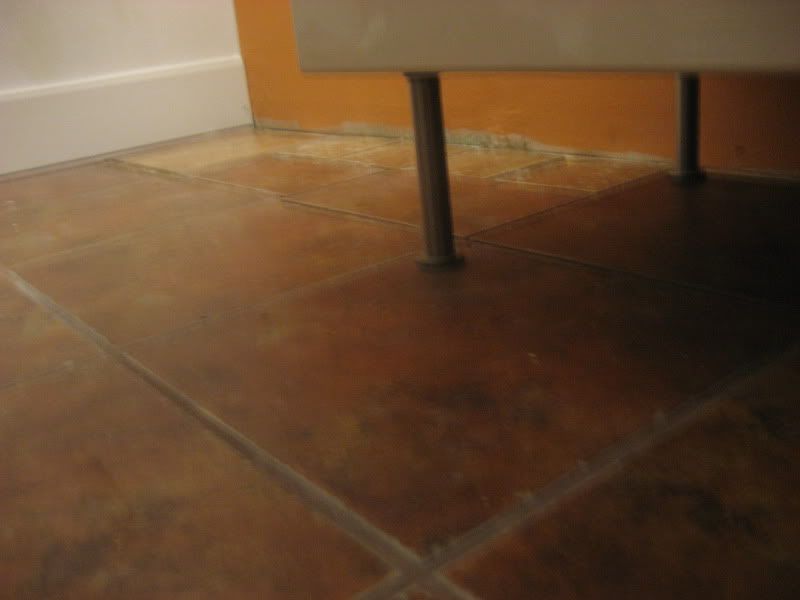
That tile and the other half tile went in where they would show. When I started dry fitting things, I found out the new filler tiles are 1" less wide than mine. I also realized that the tiles that had abutted the original vanity were not full tiles, as I'd thought. So I had to decide between leaving the same grout joint or lining up the two tiles. I went with the uniform grout joint and it's almost totally invisible because it doesn't stand out now. I think a wide grout joint would have drawn attention. This doesn't. Probably only my mom will notice.
So, the walls got done, the tiling got done, and this morning all that prep was done sufficiently that we (my organizer and I) were able to resize the small shelves with my new 12" sliding compound miter circular saw my brother got me for my birthday, and get in the easy, easy (no sawing) reinstall of the hanging shelving in the cedar lined bit.
If you've made it this far, here's the before, during, and after shots of removing the far wall.
And here's dad cautiously nibbling the little wall away a little bit at a time.
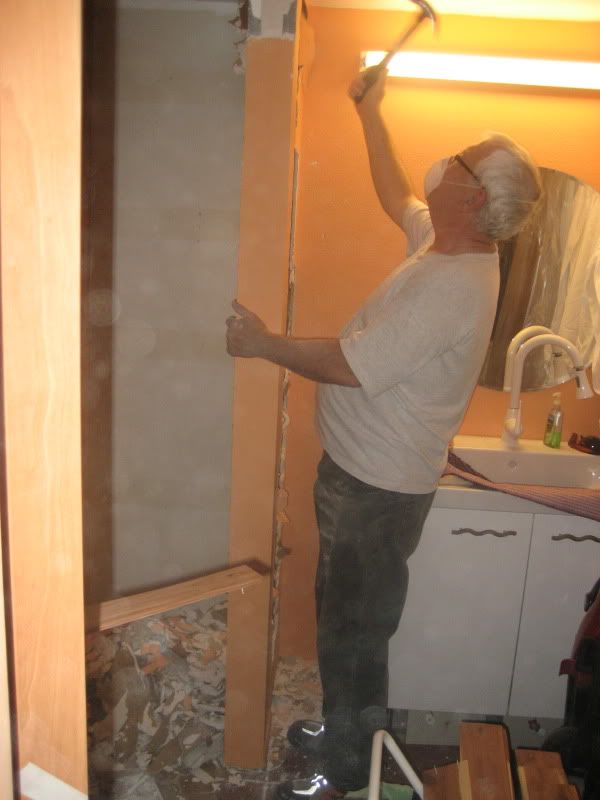
Even with this gaping hole, the room was SO MUCH improved by this non-obvious but straightforward change,
It just became a joy to walk into the room, even when it was a mess. And now that the plastic drop cloth is no longer taped over the entry, it feels like the homestretch. Stay tuned. I would like to have it done by the cookie party, so when it's all done, I'll do a thrilling adventure video for my loyal readers.
For now, here's my favorite bit again.
Of course if you were to come over, you'd see that I've already filled up the area over the drawers with towels and the small shelves are filled with boxes of toiletries. Which is great because I was able to find my hair dye and color it in time to whack the bejezus out of it with some scissors and a clipper with a dying battery. Eventually, though, those shelves will have a door, probably with a full length mirror which *won't* reflect the laundry, and my hair will grow back.
In the meantime, I'll be in Florida for a week at my Aunt & Uncle's house on the gulf coast. They claim there are no tar balls. We'll see. Happy Thanksgiving!


5 comments:
Wow - that's quite the remodel! I assumed it was a "little paint" a "little tile" and maybe a shelf or two . . . not a complete re-do!
Nicely done! Doesn't it feel good to be finished . . . and knowing you - there's another project just screaming to be started!
Erika, you're amazing! You must feel such a sense of satisfaction now. :) Your condo is certainly coming together very nicely!
Happy Thanksgiving! Hope you enjoy your time in Florida!
Thank you for the extensive before and after photos of your bathroom reno! It looks nice and tidy.
Now, what's the deal with you cutting your own hair?
Have fun in Flahrida.
Lorraine
ps~ Genevieve likes to pretend she is "cutting" my hair by running a big wooden spoon over the back of my head...it is both cute and creepy feeling at the same time.
Wow. You do great work. Feel like a trip to Montana any time soon? LOL. :) Looks great.
Thanks for the props. I had been worried that my change would not be well received should I try to sell the place one day, but it is just SO much nicer that everyone who has seen it agrees. (For regular closet stuff, i'll be installing the hanging stuff in my bedroom from the container store, which looks nicer than the rubbermaid stuff I'd started eyeing.) All the hard stuff is done. I hope to take care of most of the punch list tomorrow.
Post a Comment